To content
FlyMod
FlyMod

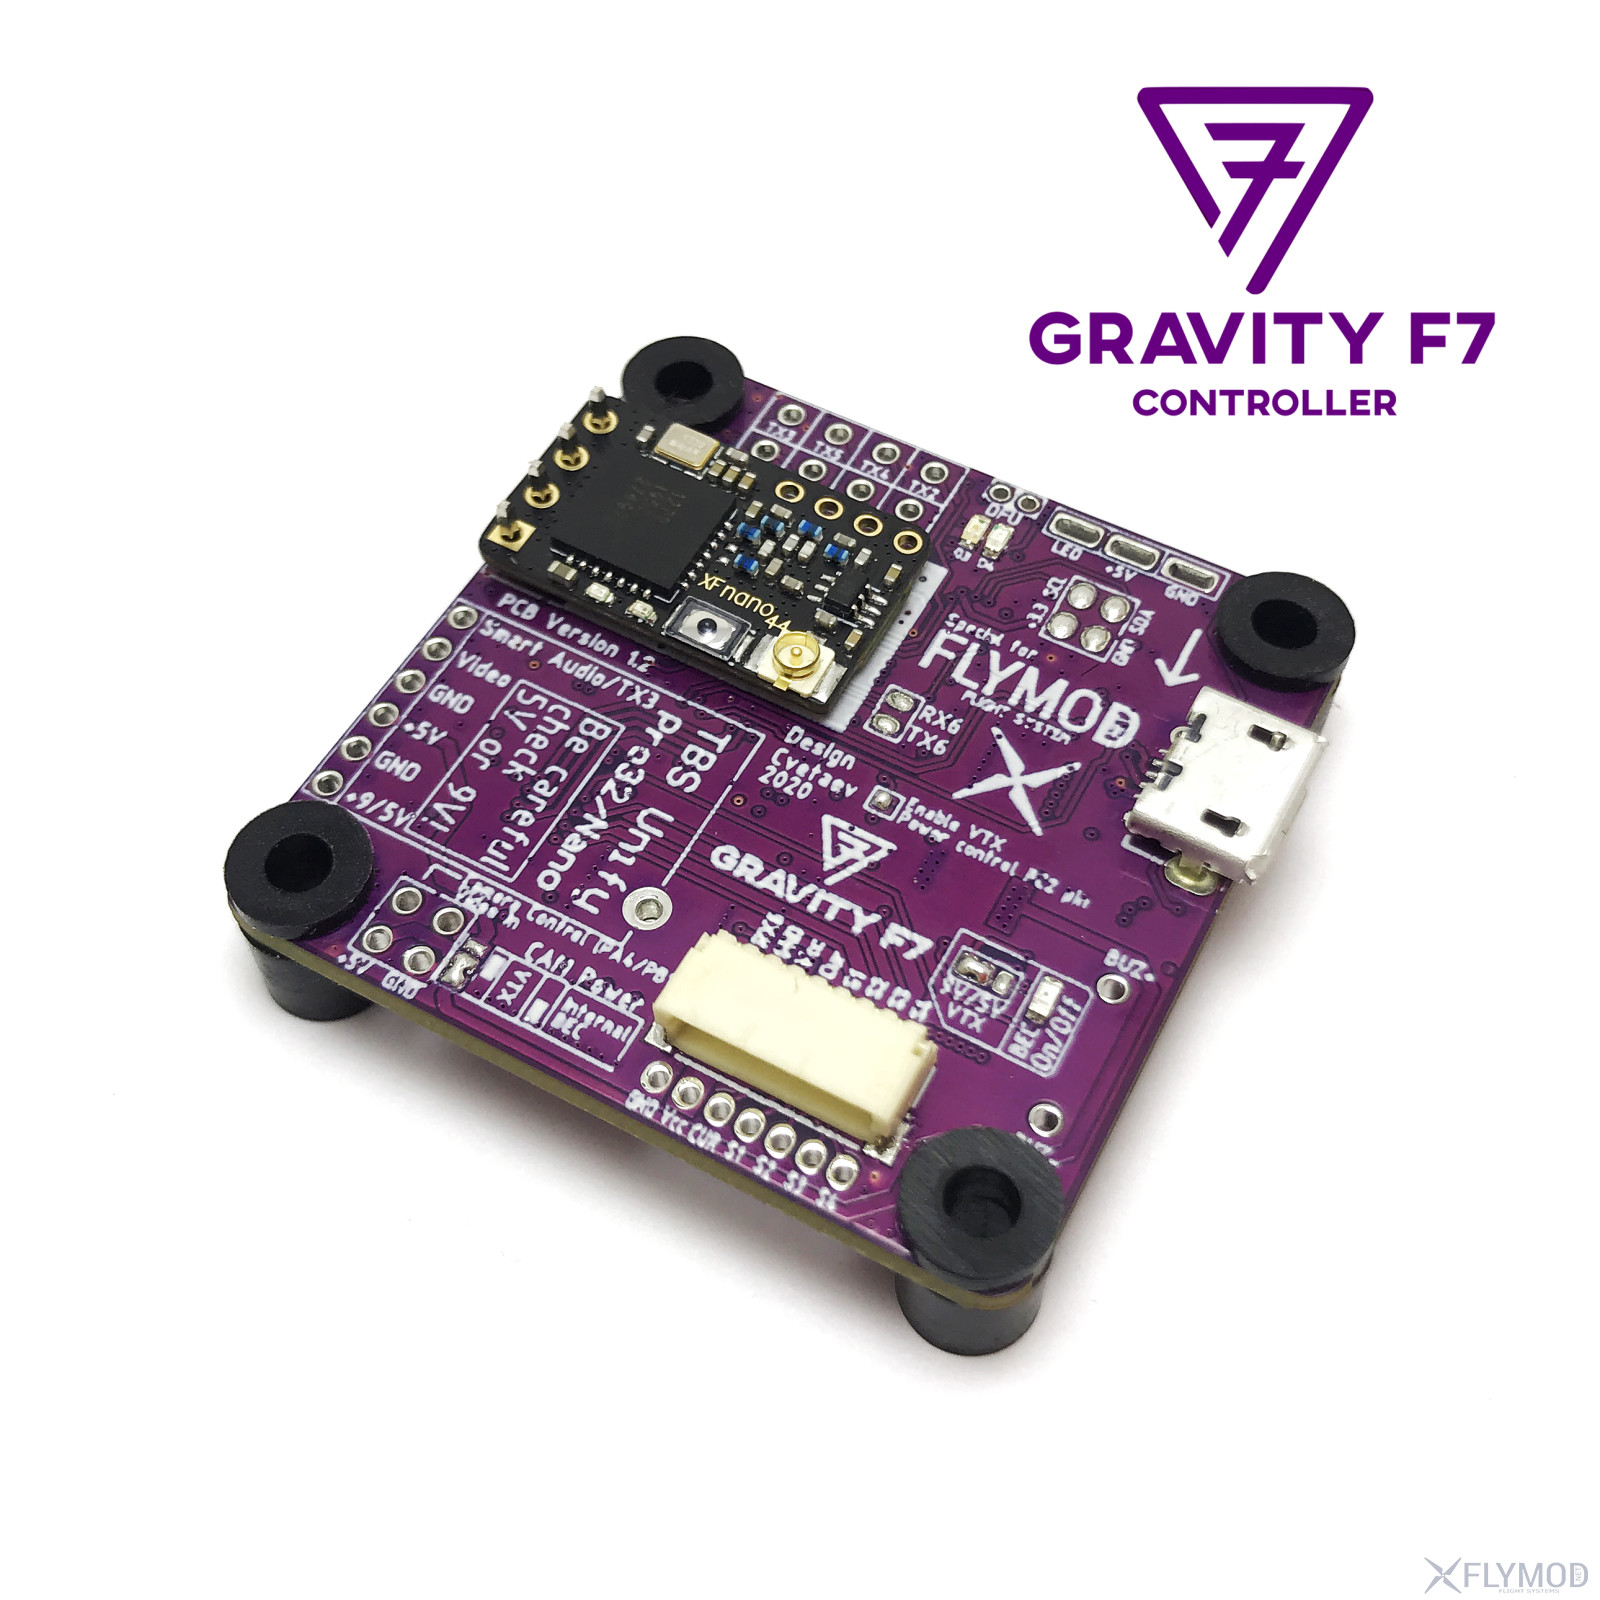
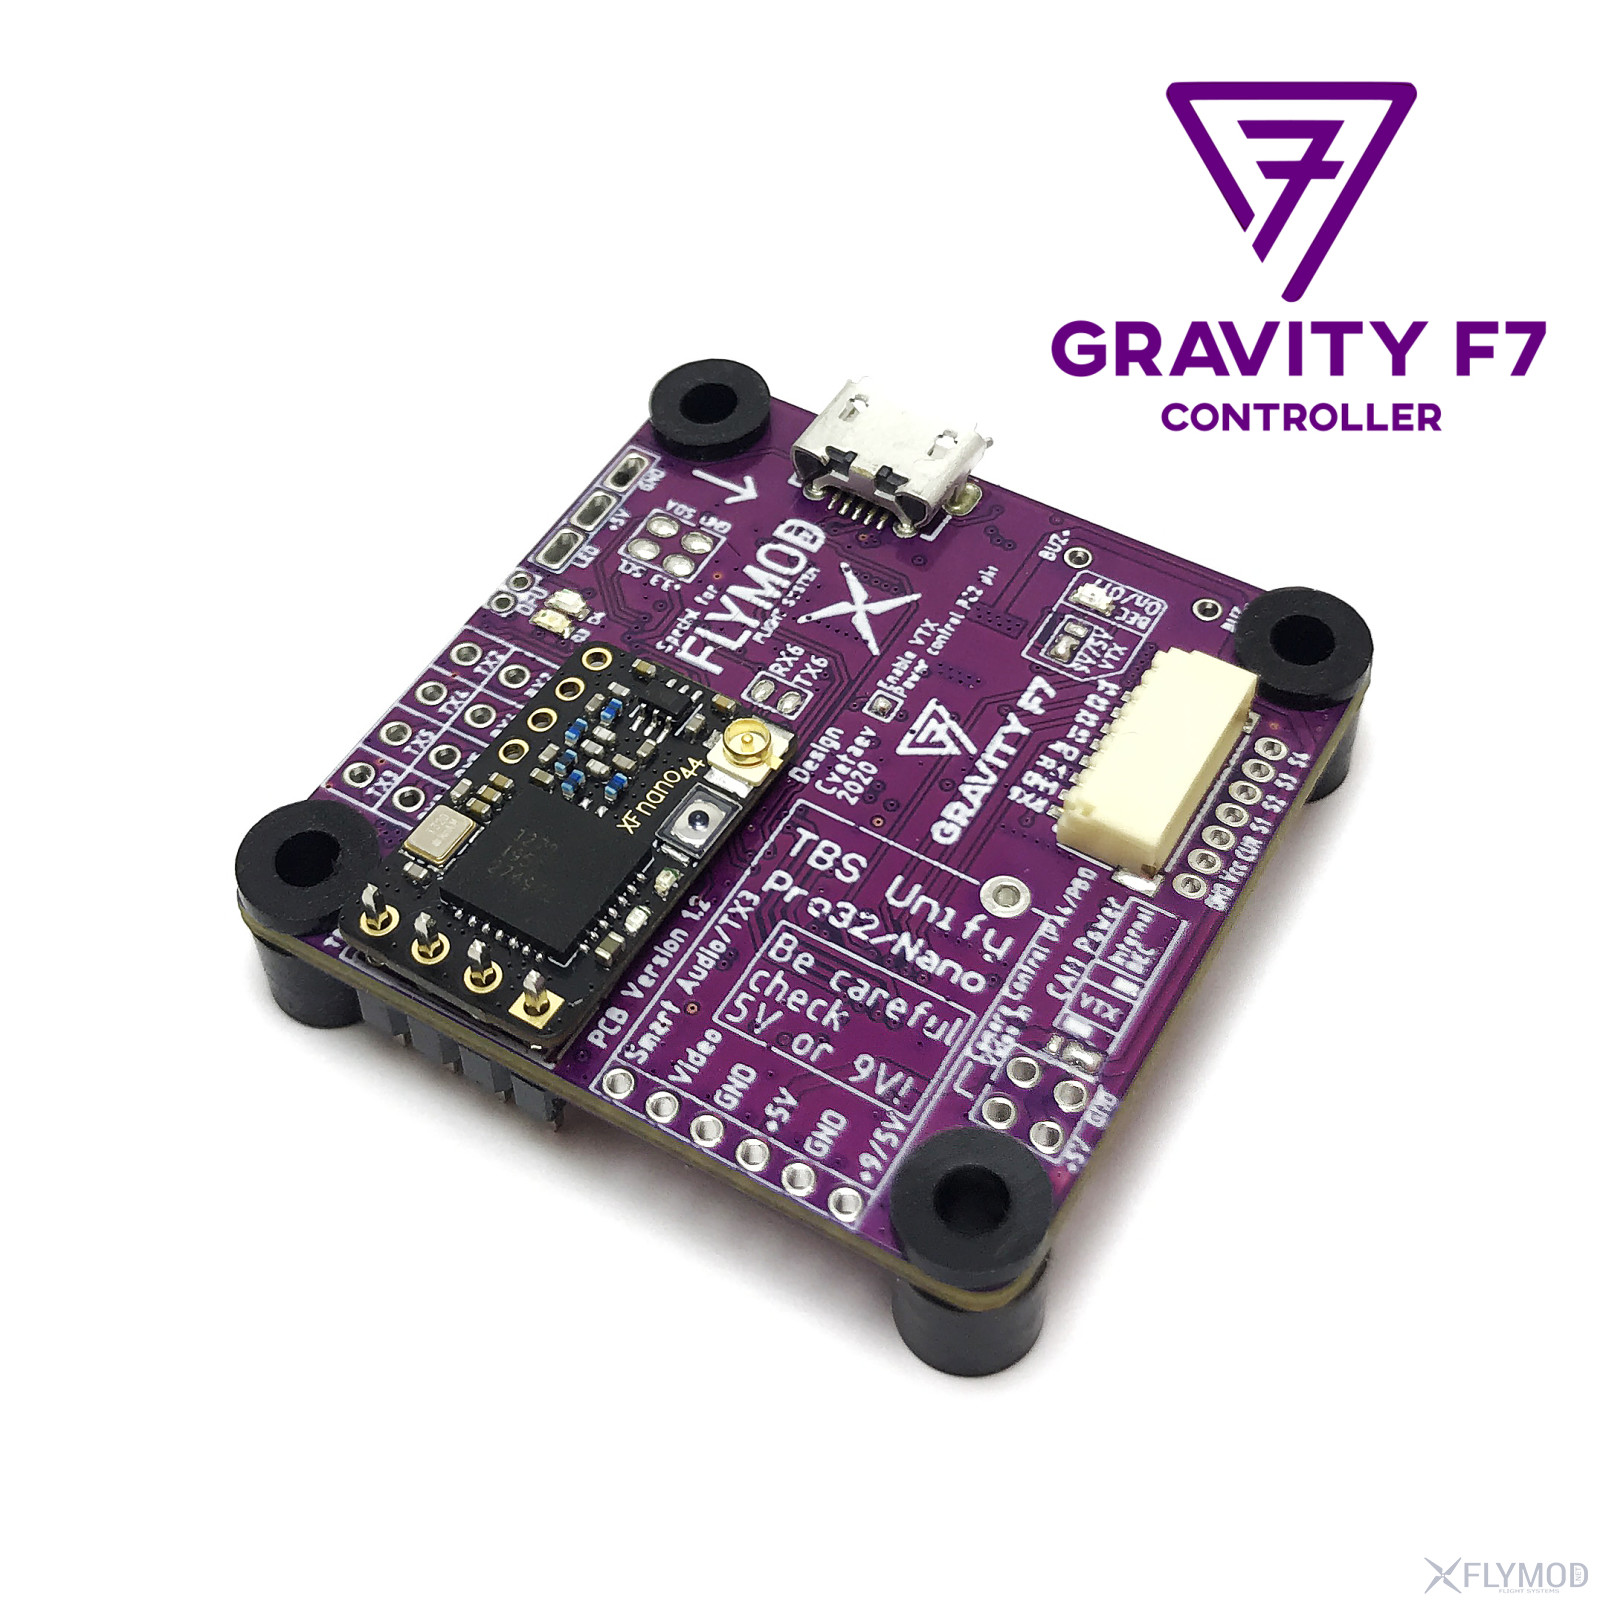
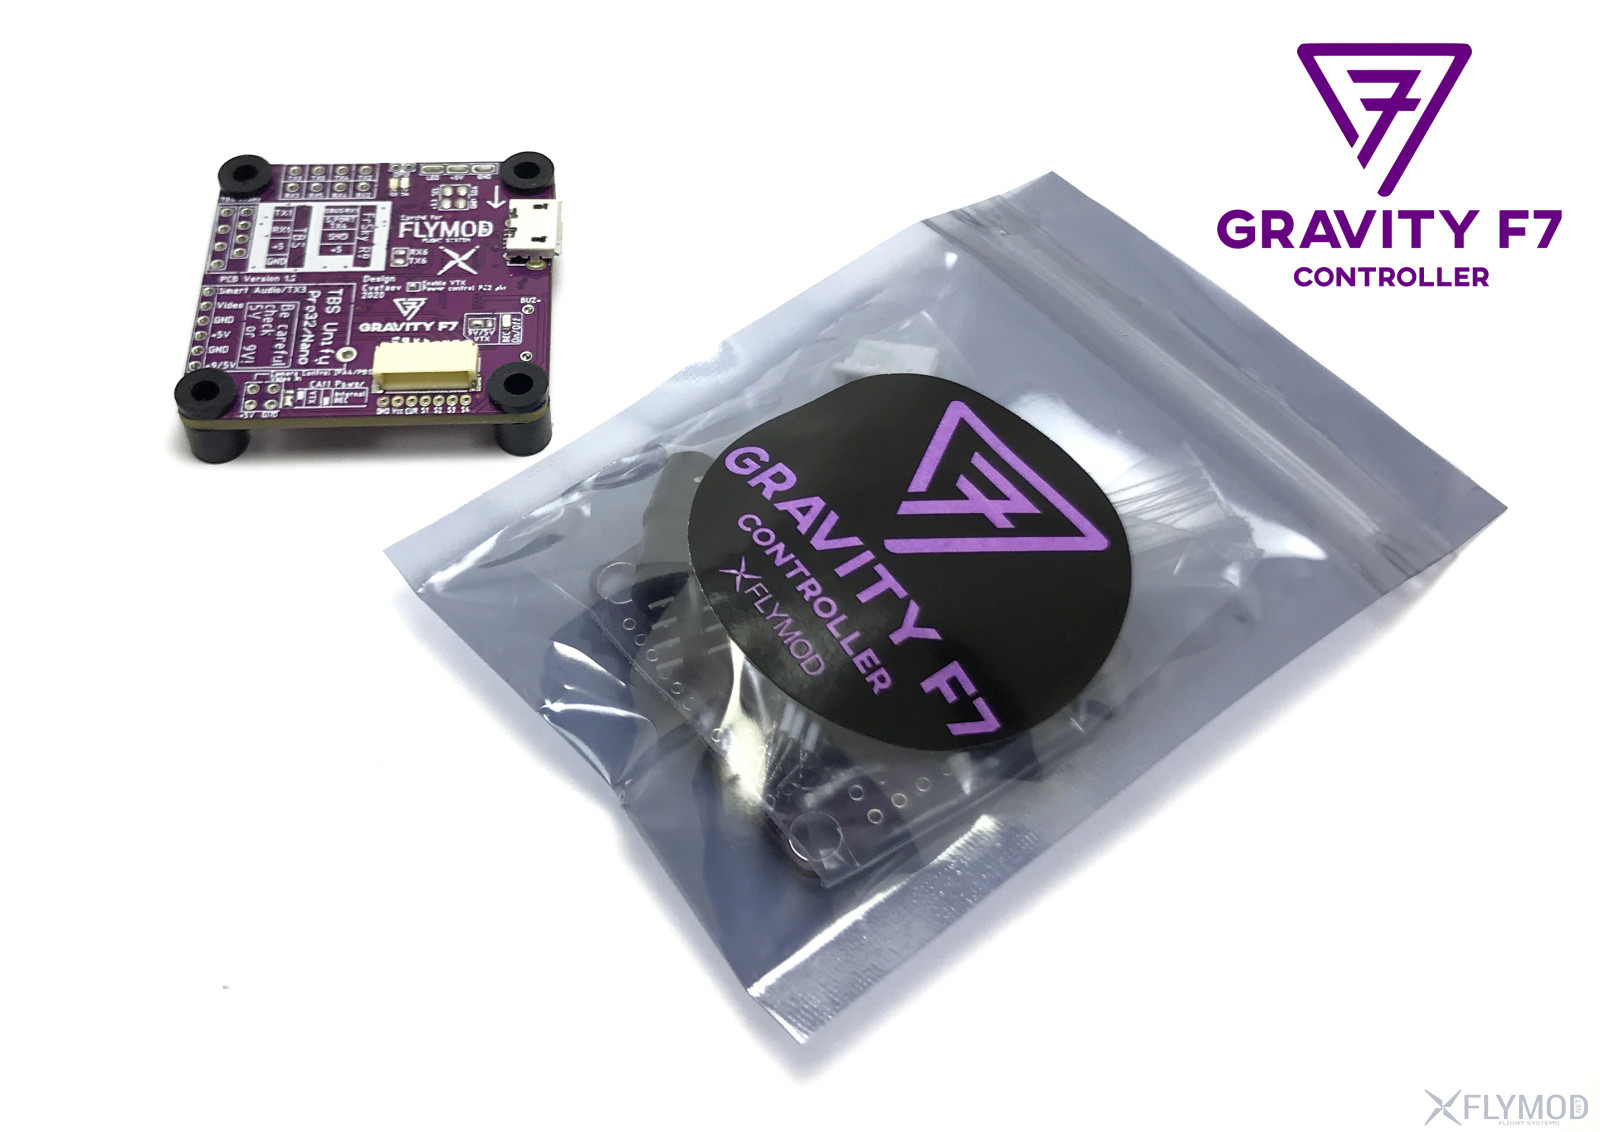
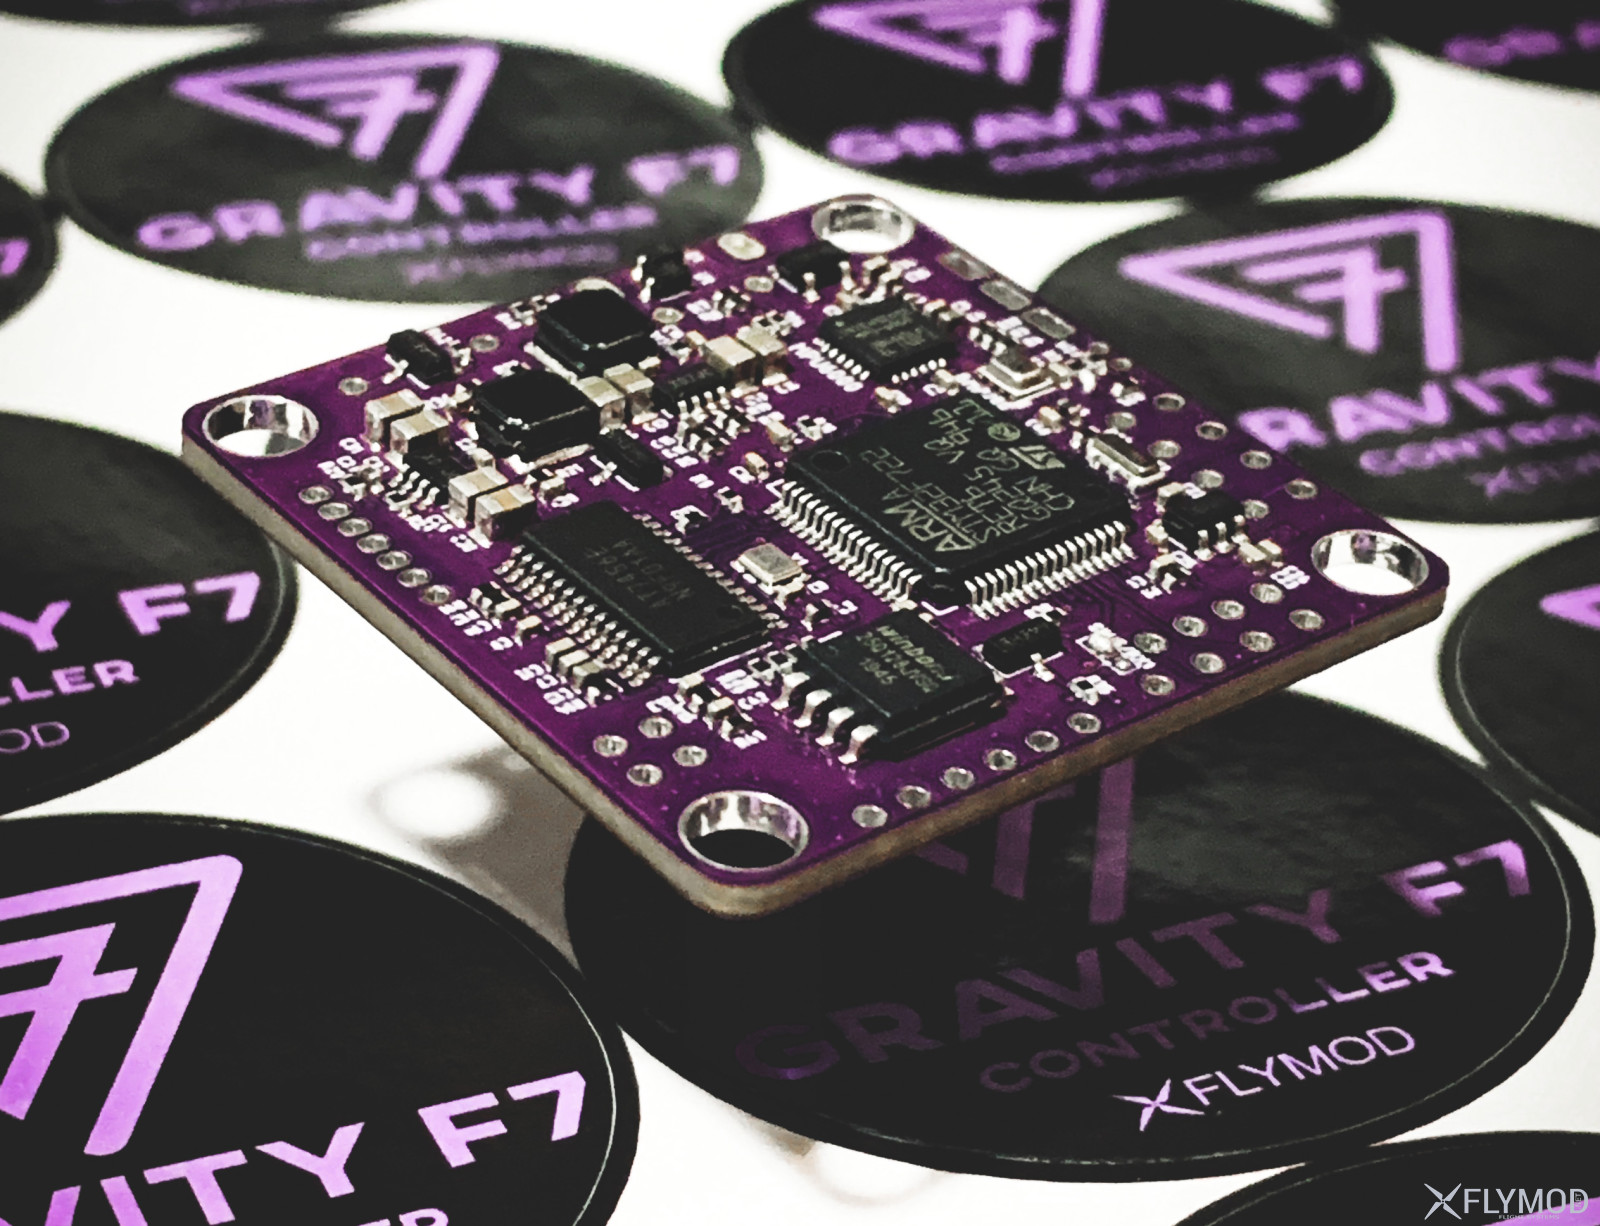
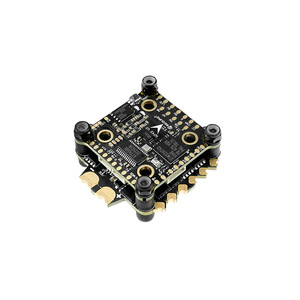
Flymod Gravity F7 flight controller

1 816 uah
Price in USD: 39.99 $ $
Out of stock
Archival goodsThis item is no longer supplied
  • DeliveryNova Poshta across Ukraine
  • PaymentCard online or bank transfer
  • WarrantyExchange and return

Description

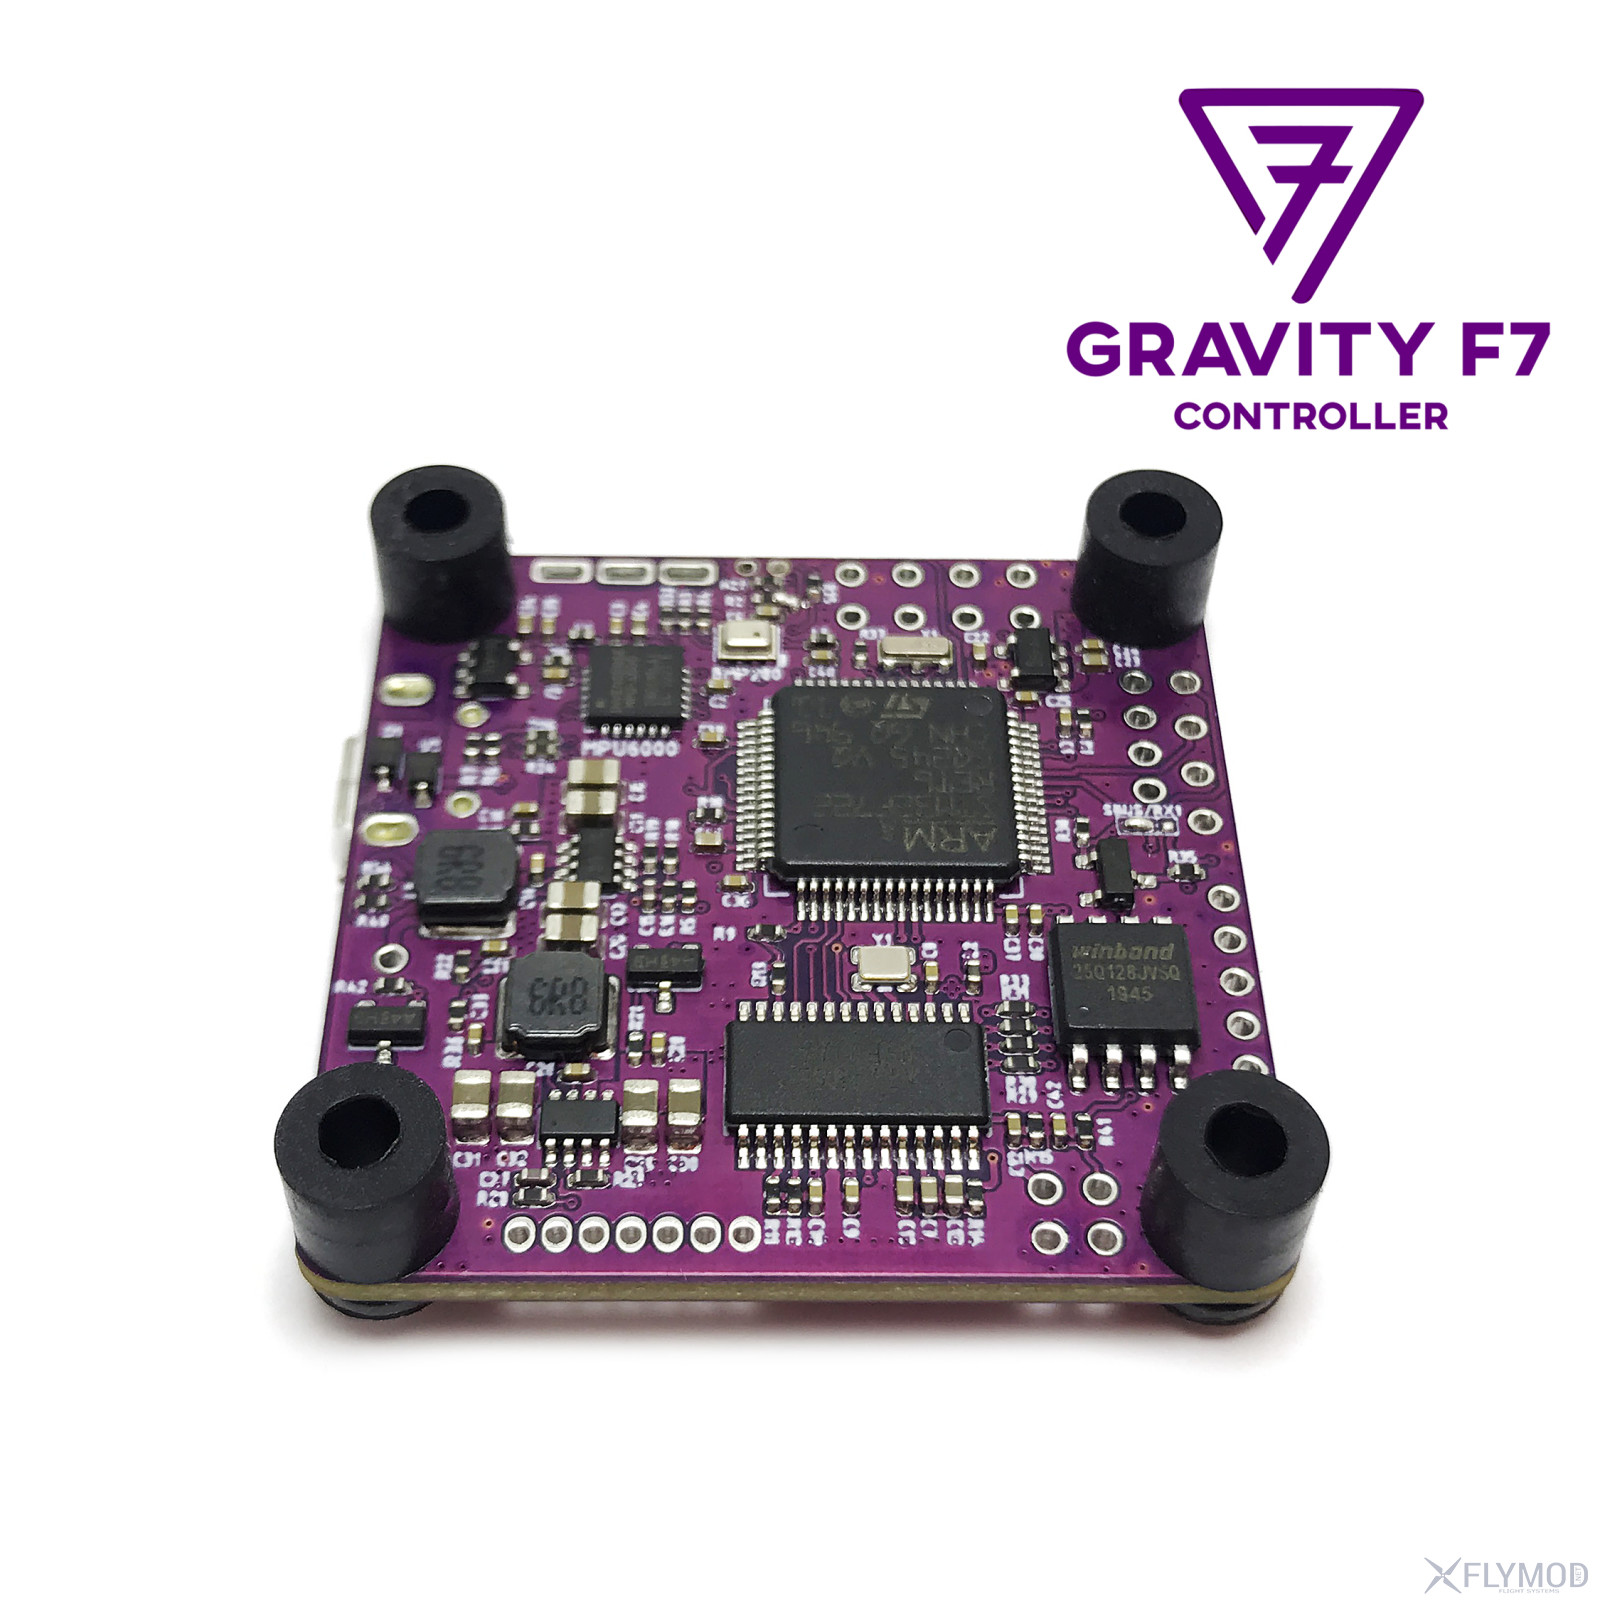
Flymod Gravity F7 flight controller, designed in Ukraine for the needs of Ukrainian FPV pilots. The controller is perfectly compatible with video transmitters and receivers from TBS, which allows for a clean and beautiful installation. Designed for FPV racing quadcopters and other similar drones.

Features

  • The controller is equipped with STM32F722 32Bit 216MHz processor, MPU6000 gyroscope with separate power supply from STM32 and LC filter, BMP280 barometer, 2x BEC 5V/9V 3A.
  • The BEC for VTX has a function to disconnect power from the remote (USER 1 in BetaFlight modes).
  • High quality LC filter for OSD AT7456 chip
  • Ability to power the camera from the built-in 5V BEC or from the VTX
  • Convenient pinout, all necessary functions for racing flights. Convenient soldering pad for multiple LED wires.
  • Ideal for mounting TBS Crossfire Nano RX receivers, FrSky R9 MM (MINI), surface direct mounting with pins
  • Easy installation of VTX TBS Unify Pro32 or Nano (check VTX power supply is 9V or 5V, as TBS Unify Nano only supports 5V), surface direct mounting with pins.

Specifications

  • Processor: STM32F722RET6 216MHz 32bit
  • Barometer: BMP280
  • Gyroscope: MPU6000
  • OSD: AT7456E
  • UART ports: 6
  • ESC Telemetry: RX6
  • SBUS: RX1
  • S.PORT: TX4
  • SmartAudio: TX3
  • CameraControl: PA4 (DAC) or PB1 (TIMER3 ch 4)
  • SBUS Inverter: Yes (switchable by jumper)
  • Blackbox: 16Mb
  • Firmware: BetaFlight, EmuFlight
  • Target: GRAVITYF7
  • Input Voltage: 3-6S LiPo (12.6-25V)
  • BEC: 5V/3A, 9V/3A (9V or 5V selectable) USER1 - PC2 pin on/off VTX power supply, 3.3V/250mA
  • LED indication: green (D4) STM32 power supply (3.3V), blue (D3) for FC status, red (VTX) BEC 9V
  • Buser output: Yes
  • Mounting Diagram: 30.5 x 30.5mm, M3
  • Weight: 6.3g

Jumper setting

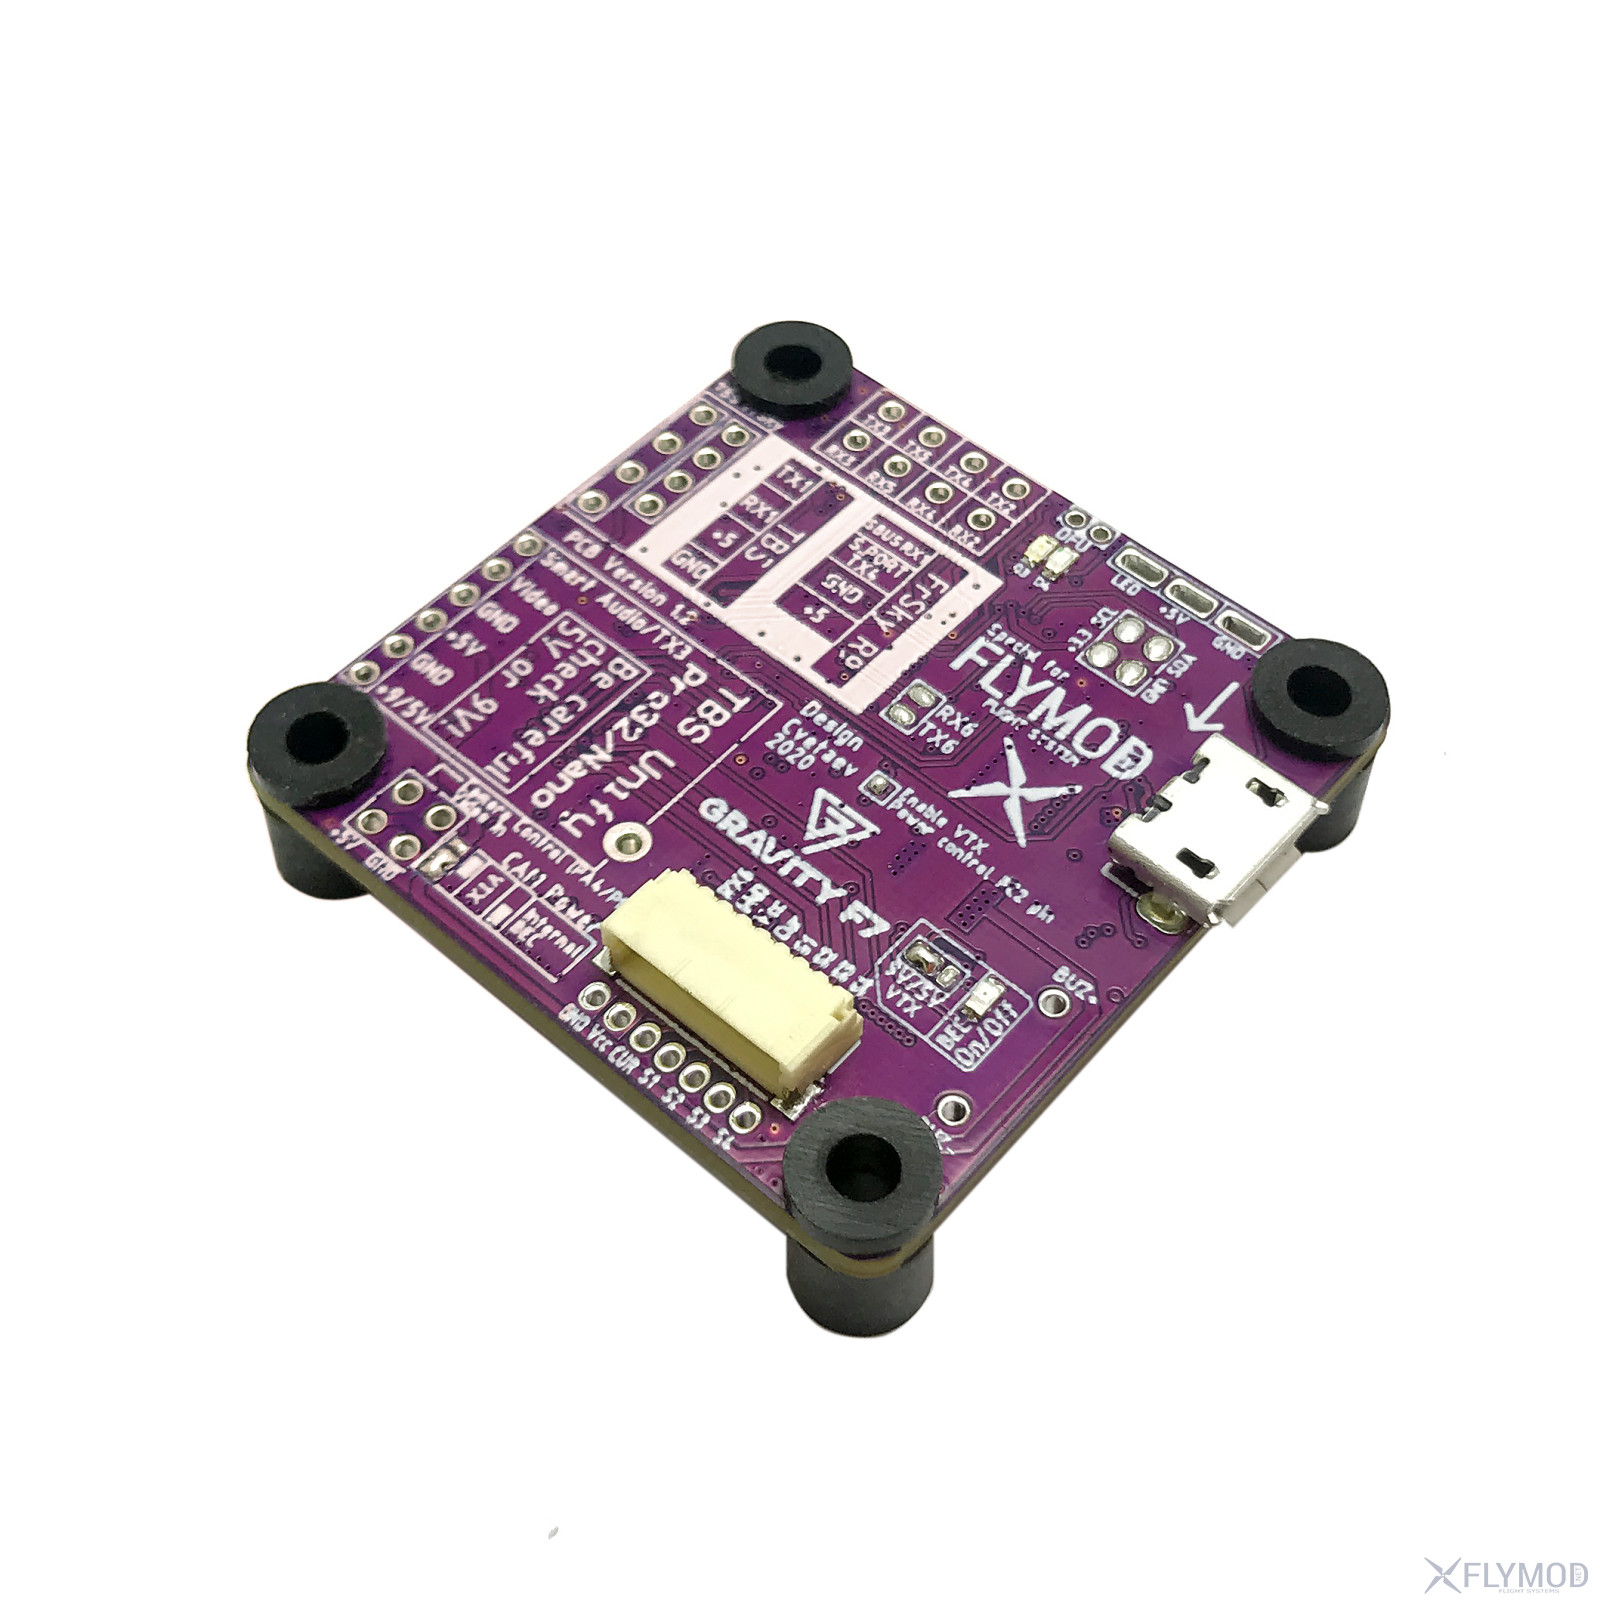
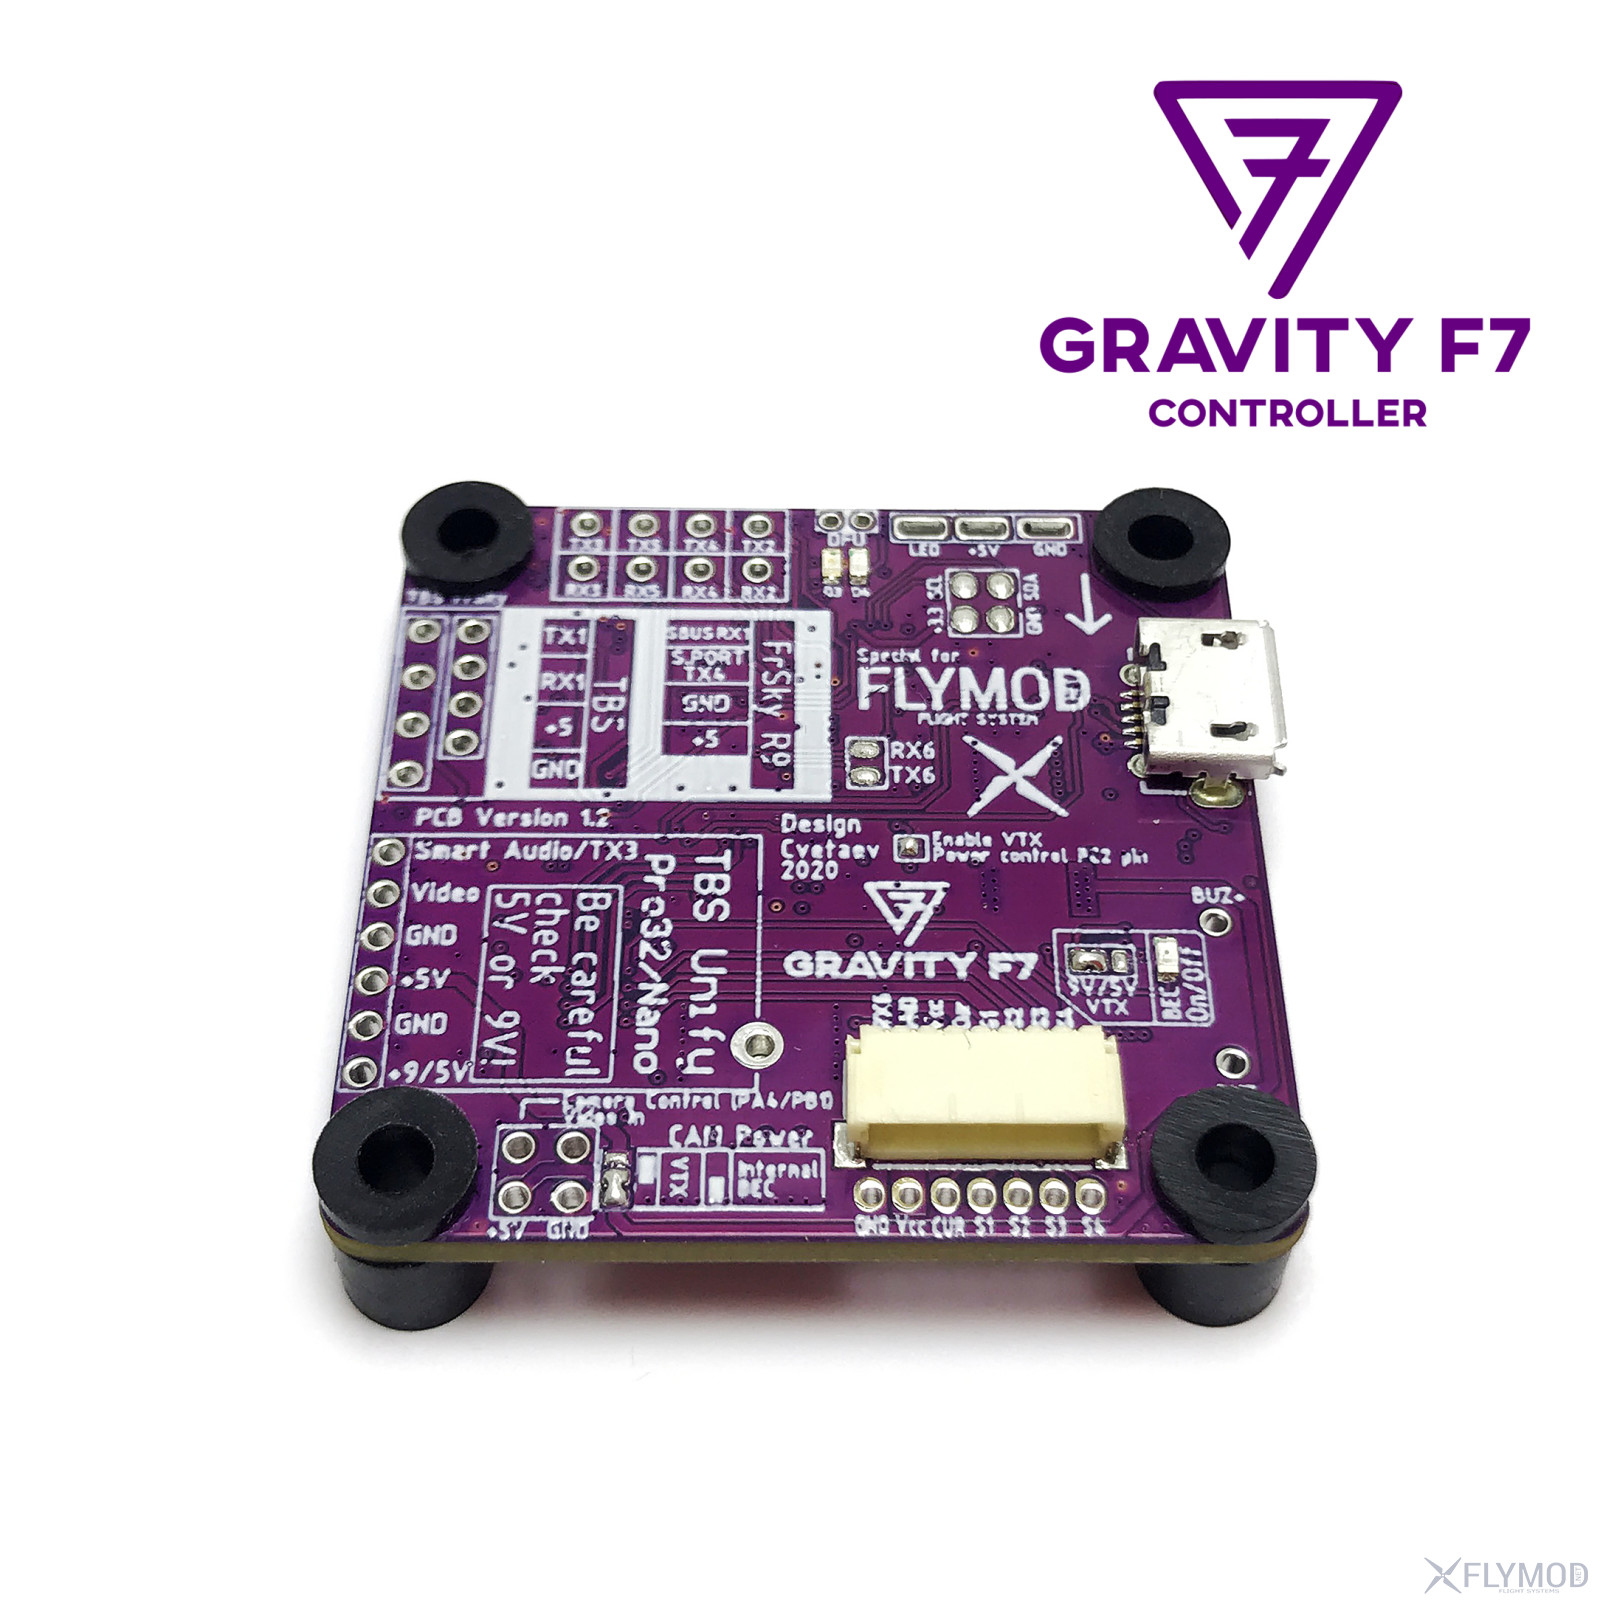
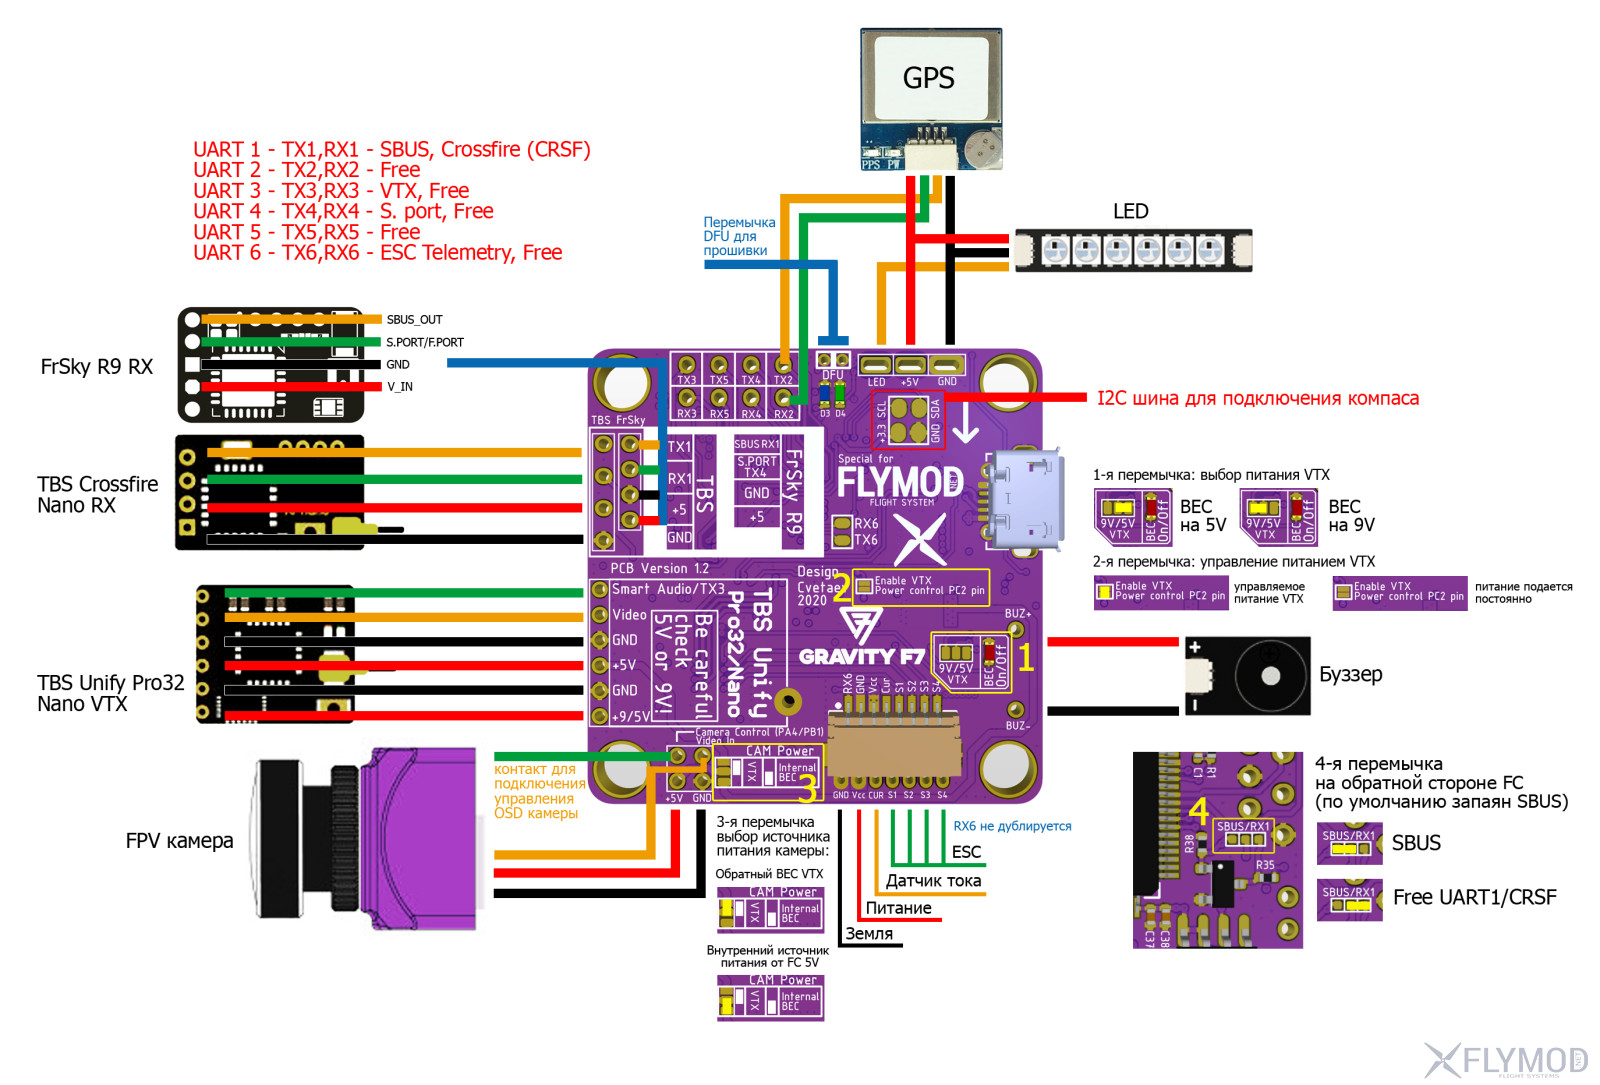
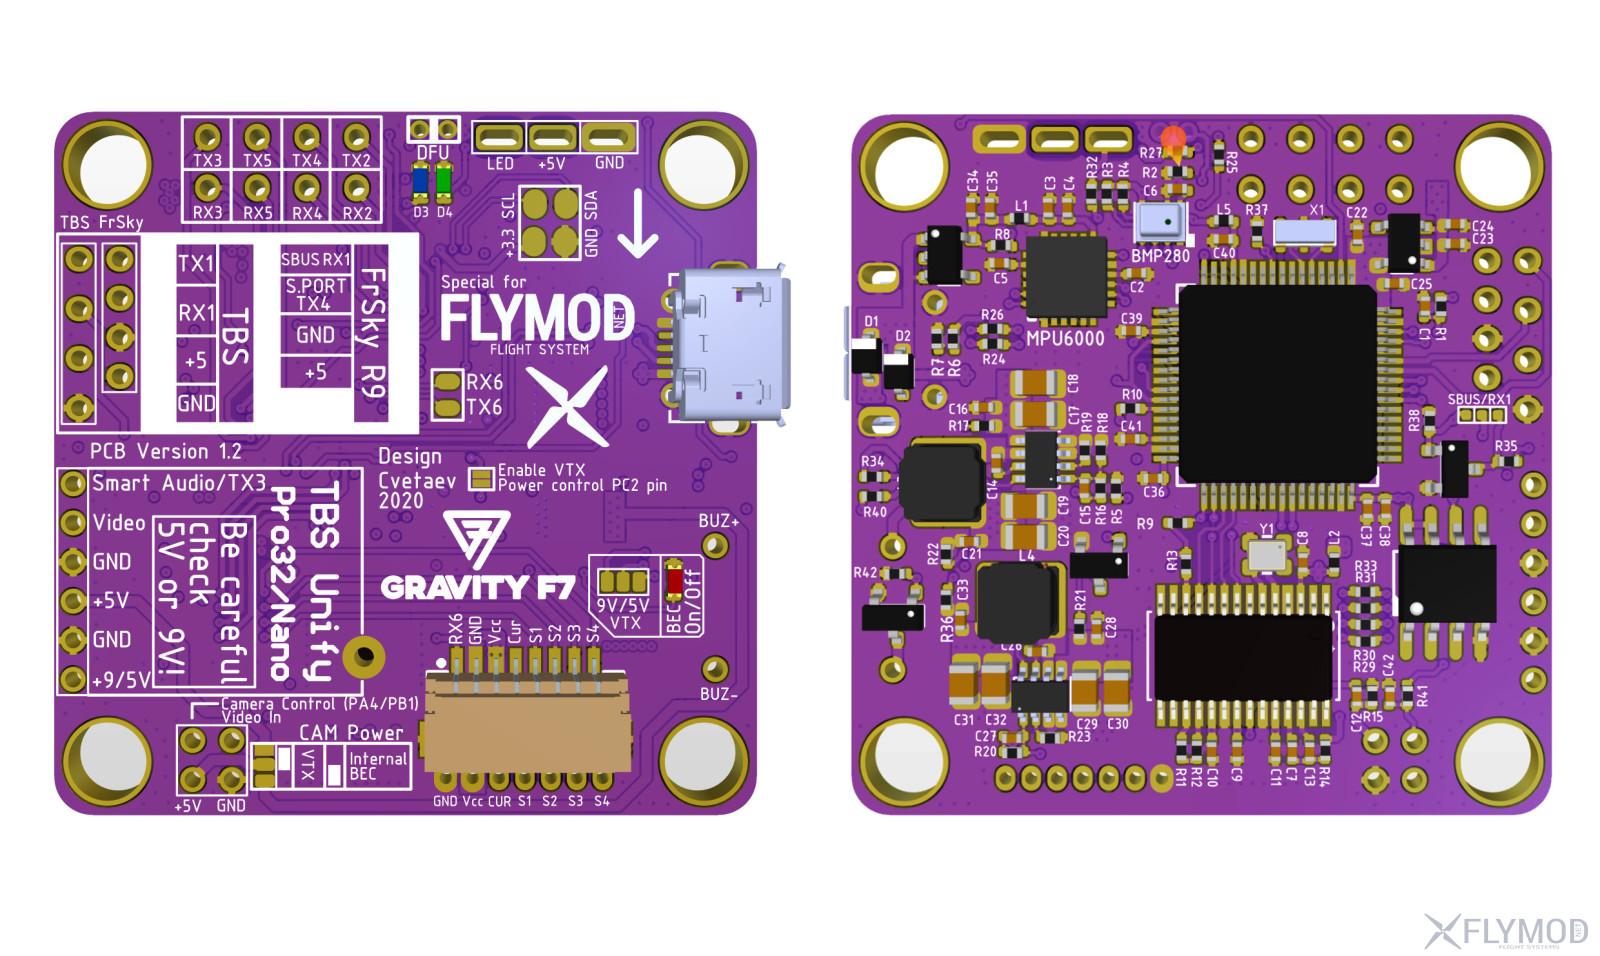
The jumper numbers correspond to the jumper number on the overall schematic:
1. Selects the voltage applied to the VTX. 5V or 9V from the internal BEC, 3A MAX. Next to the LED indicating the power supply to the VTX. The default jumper is 9V.
2. Enable VTX power management via Betaflight mode (USER1). If the jumper is not sealed, power is continuously supplied. By default, control via Betaflight is enabled.
3. Selects the camera power source, via the video transmitter's reverse BEC or the flight controller's internal 5V source. By default, a jumper is soldered to use the internal 5V BEC
4. Enable hardware inverter for SBUS or select pure UART to use TX1, RX1. By default, a jumper is soldered in to use the SBUS receivers. To install a Crossfire (CRSF) receiver on UART 1, you need to solder the second option, the regular TX1, RX1 as shown in the schematic.

Firmware

For flashing it is necessary to put the flight controller into DFU mode, for this purpose it is necessary to close DFU pins with tweezers or other metal jumper when powering the controller via USB. At the moment the device is flashed with Betaflight, EmuFlight firmware in the standard way by selecting the GRAVITYF7 target set. For INAV by downloading the firmware through the website and uploading it through firmware file selection, adding it to the general INAV release list while testing the firmware.

Loading fonts in OSD

When setting up the PC for the first time it is necessary to load fonts for OSD. The download must be done with the battery connected to the flight controllers, as the OSD chip is not powered via USB only. Download information on GitHub.

UART port map

UART 1 - SBUS, Crossfire (CRSF)
UART 2 - Free
UART 3 - VTX, Free
UART 4 - S. port, Free
UART 5 - Free
UART 6 - ESC Teletmetry, Free

Flight controller development: Cvetaev

Accessories

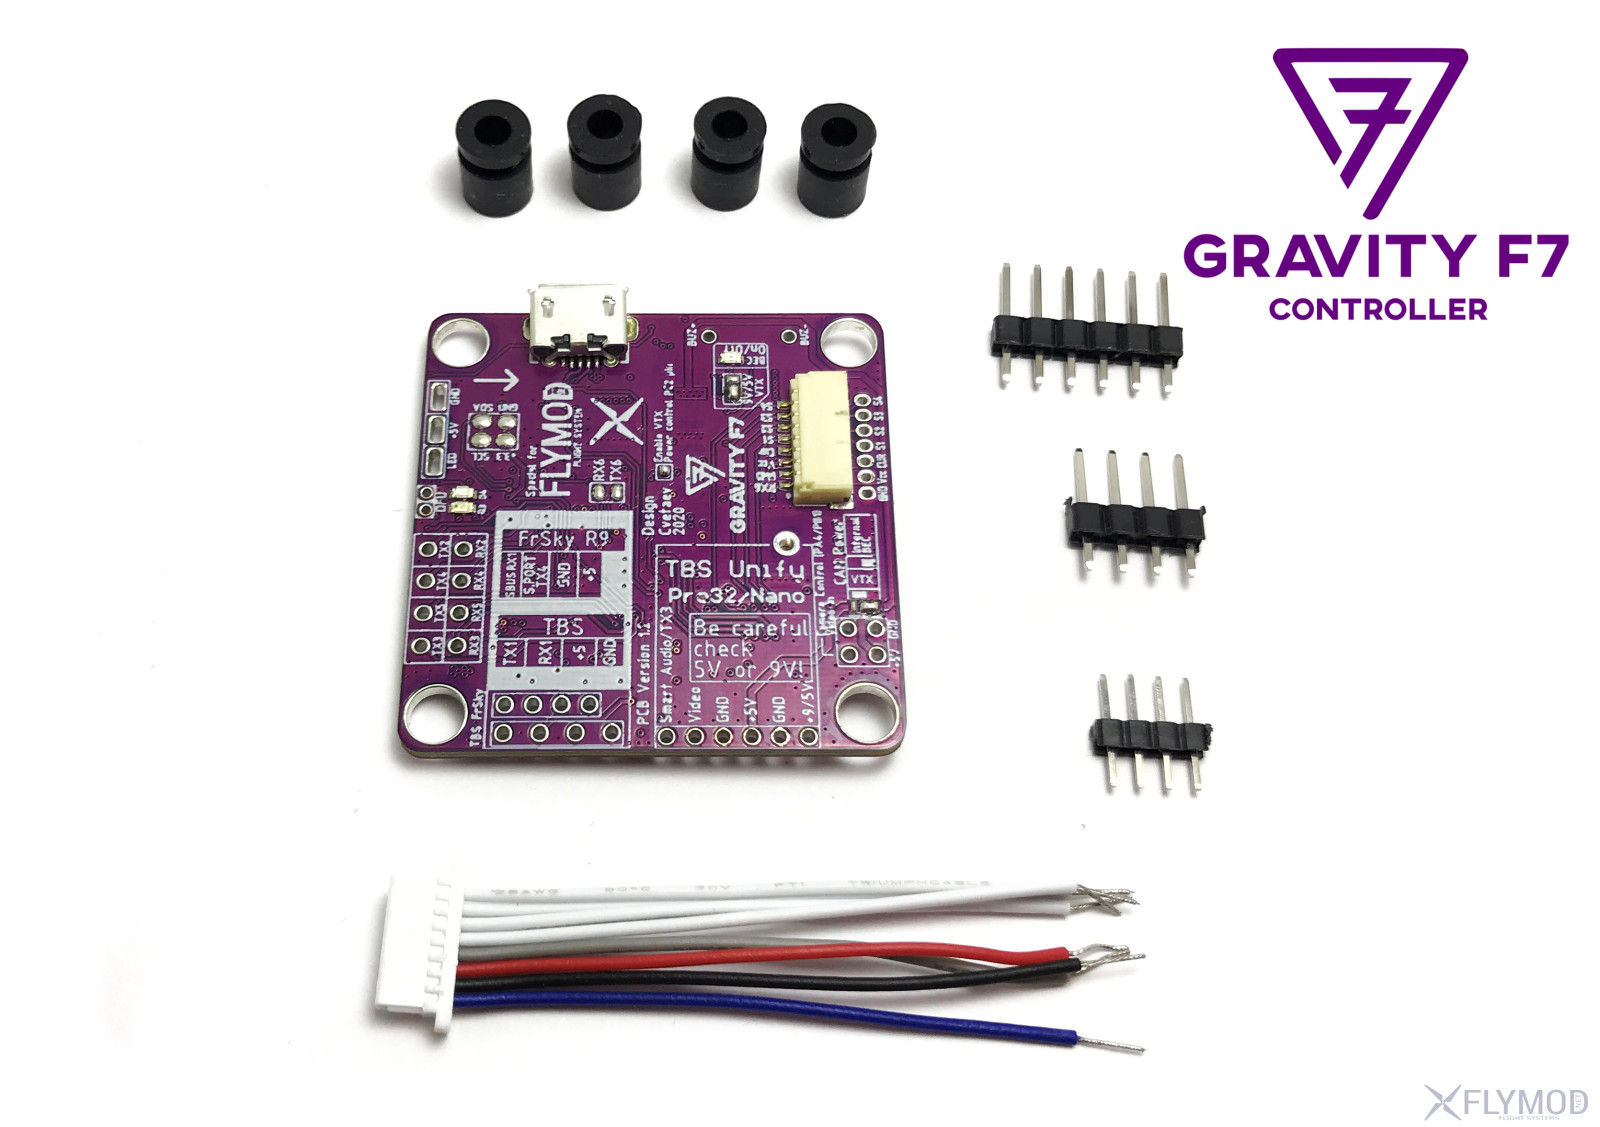
  • 1 x Gravity F7 flight controller
  • 4 x anti-vibration rubbers
  • 1 x JST-SH 1.0 8pin cable with 4 in 1 ESC connector
  • 1 x 4 x 2mm pins
  • 1 x 4 x 2.54mm pins
  • 1 x pins 6 x 2.54mm

Files

Photos

Comments

  • flewerty
    bobrovskiyroman, Значения датчика напряжения должна по умолчанию быть установлены, если не совпадает немного, можно откалибровать, эти значения для этого и нужны.
    Значения датчика тока зависят уже от самого датчика тока на регуляторах скорости (ESC) или на плате разводки питания, смотря где он установлен, могут быть разные, обычно по умолчанию оставляют, калибруют, или берут у производителей регуляторов рекомендуемые.
  • arnoldleach
    У меня датчик тока с holybro tekko 4v1 читается не корректно. Как не крутил двигатели и scale датчика , а в бете всегда 20-30ma показывает. В чем может быть проблема? (если что, дрон летает, все отлично)
  • cipko
    Подскажите, не планируются ли в ближайшее время скидки на данный контроллер?)
  • flewerty
    cipko, К сожалению уже нет, последние экземпляры. Limited Edition
  • flewerty
    arnoldleach, Возможно датчик тока выдает статичные данные. Замер это просто аналоговое измерение напряжения ножкой процессора. Если оно не изменяется, то будет показывать одно и тоже.
  • dassom
    а кто нить может inav 3.0 под этот полетник запилить?
  • nexusnn10
    Так этот контроллер поддерживает самолетные настройки или нет?
  • flewerty
    nexusnn10, Айнав сборки есть выше в статье, на самолетах не тестировали, можете попробовать, если удастся подключить сервы, но заявленной поддержки нет.
  • Сергій Гордій
    Може варто відновити виробництво? Гарний був продукт.
  • arnoldleach
    Перешел на цифровую видеосвязь, а полетник все тот же, куча юартов, F7 проц, достаточно мощный бек с выбором напряжения, + управление питанием VTX и т.д... Перепаивал все несколько раз, все OK. И правда отличный полетник, дайте два ;)
You need to be registered or authorized users to leave messages. Registration

Goods from category

1 816 uah