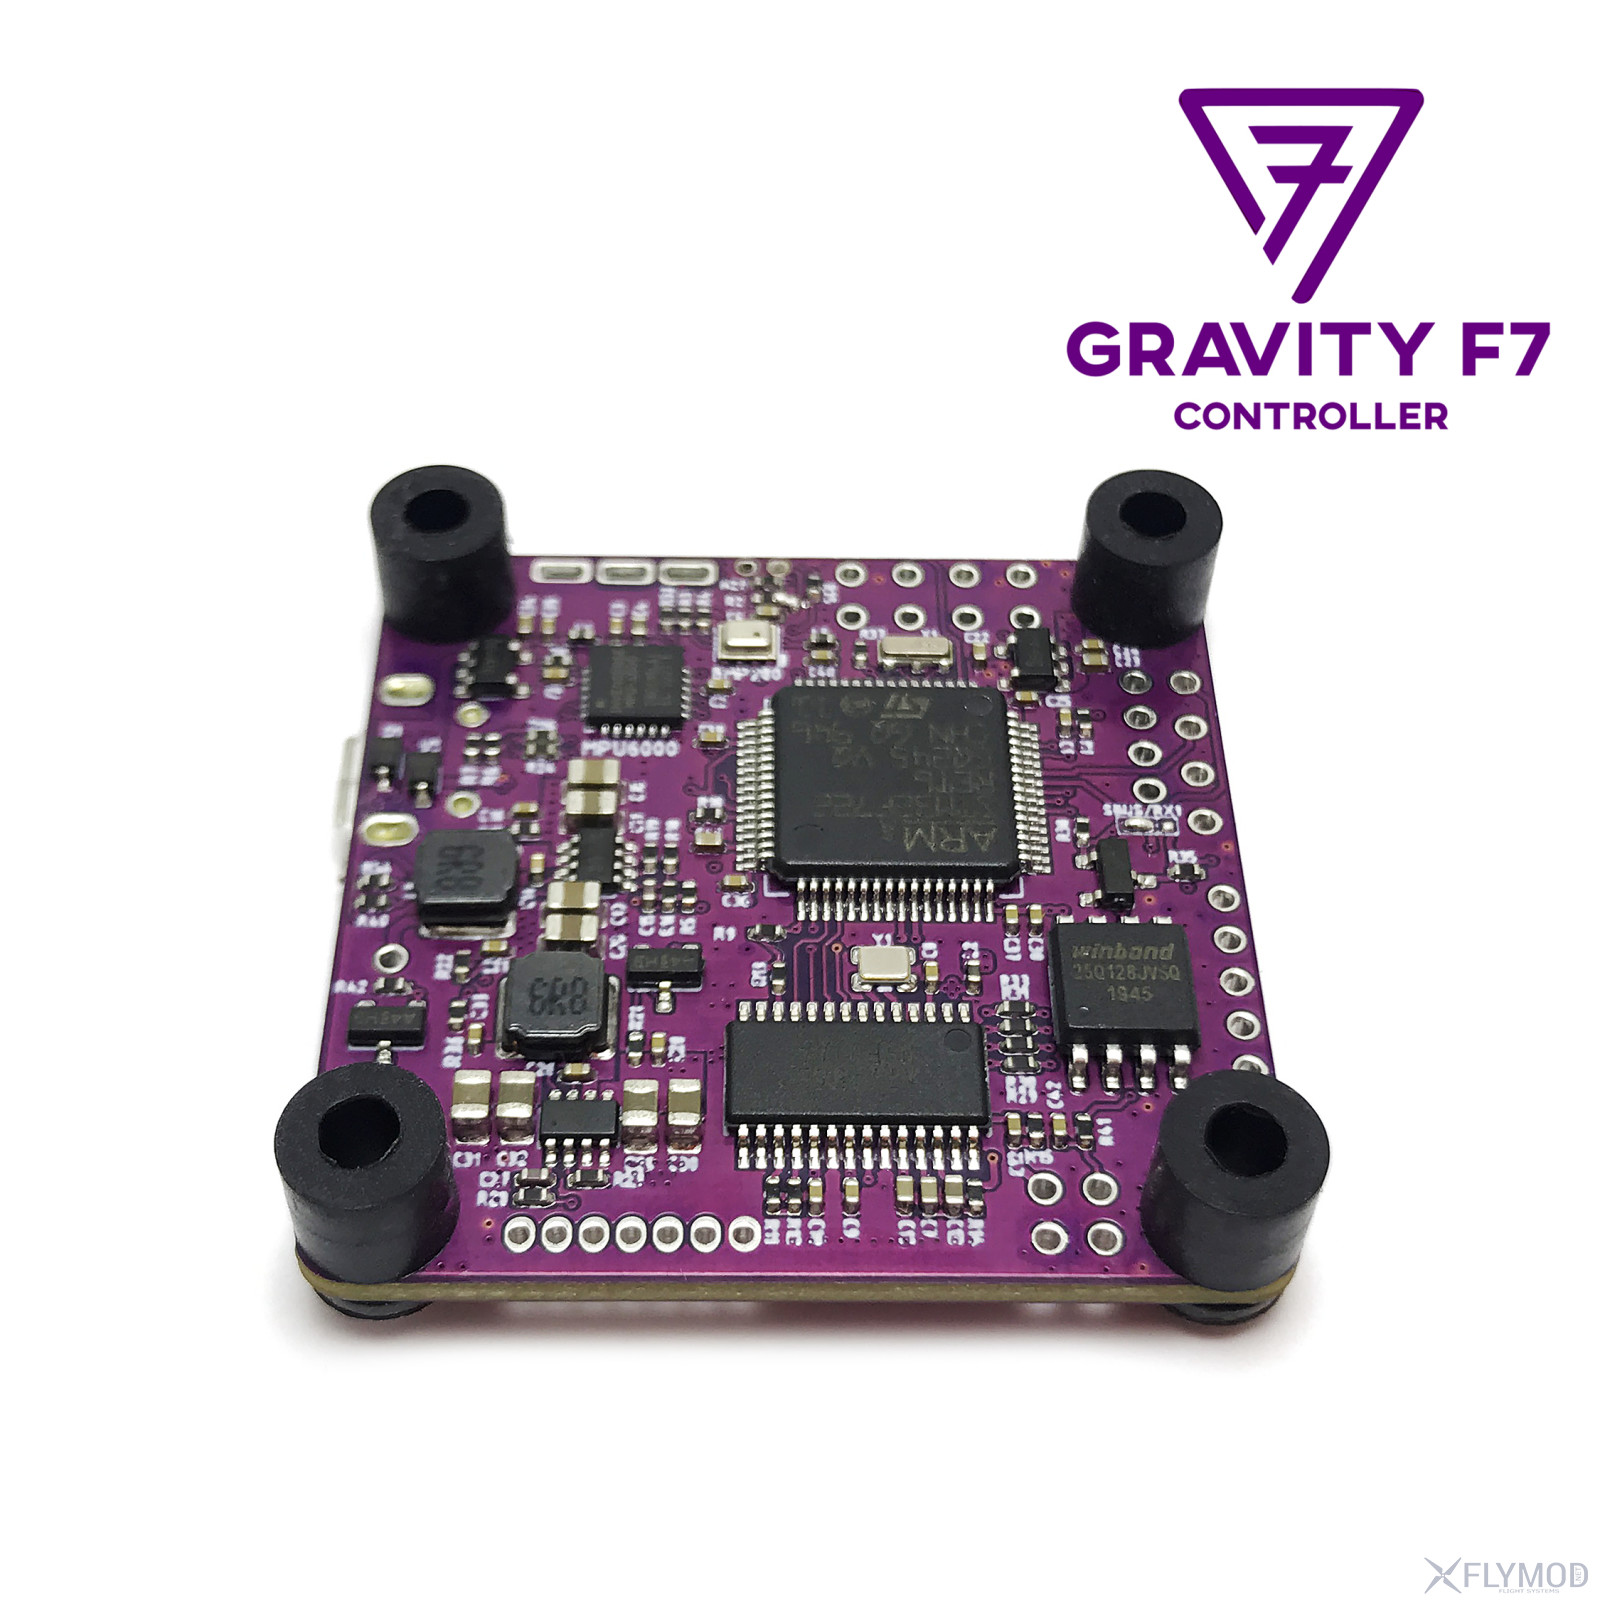
- Processor: STM32F722RET6 216MHz 32bit
- Barometer: BMP280
- Gyroscope: MPU6000
- OSD: AT7456E
- UART ports: 6
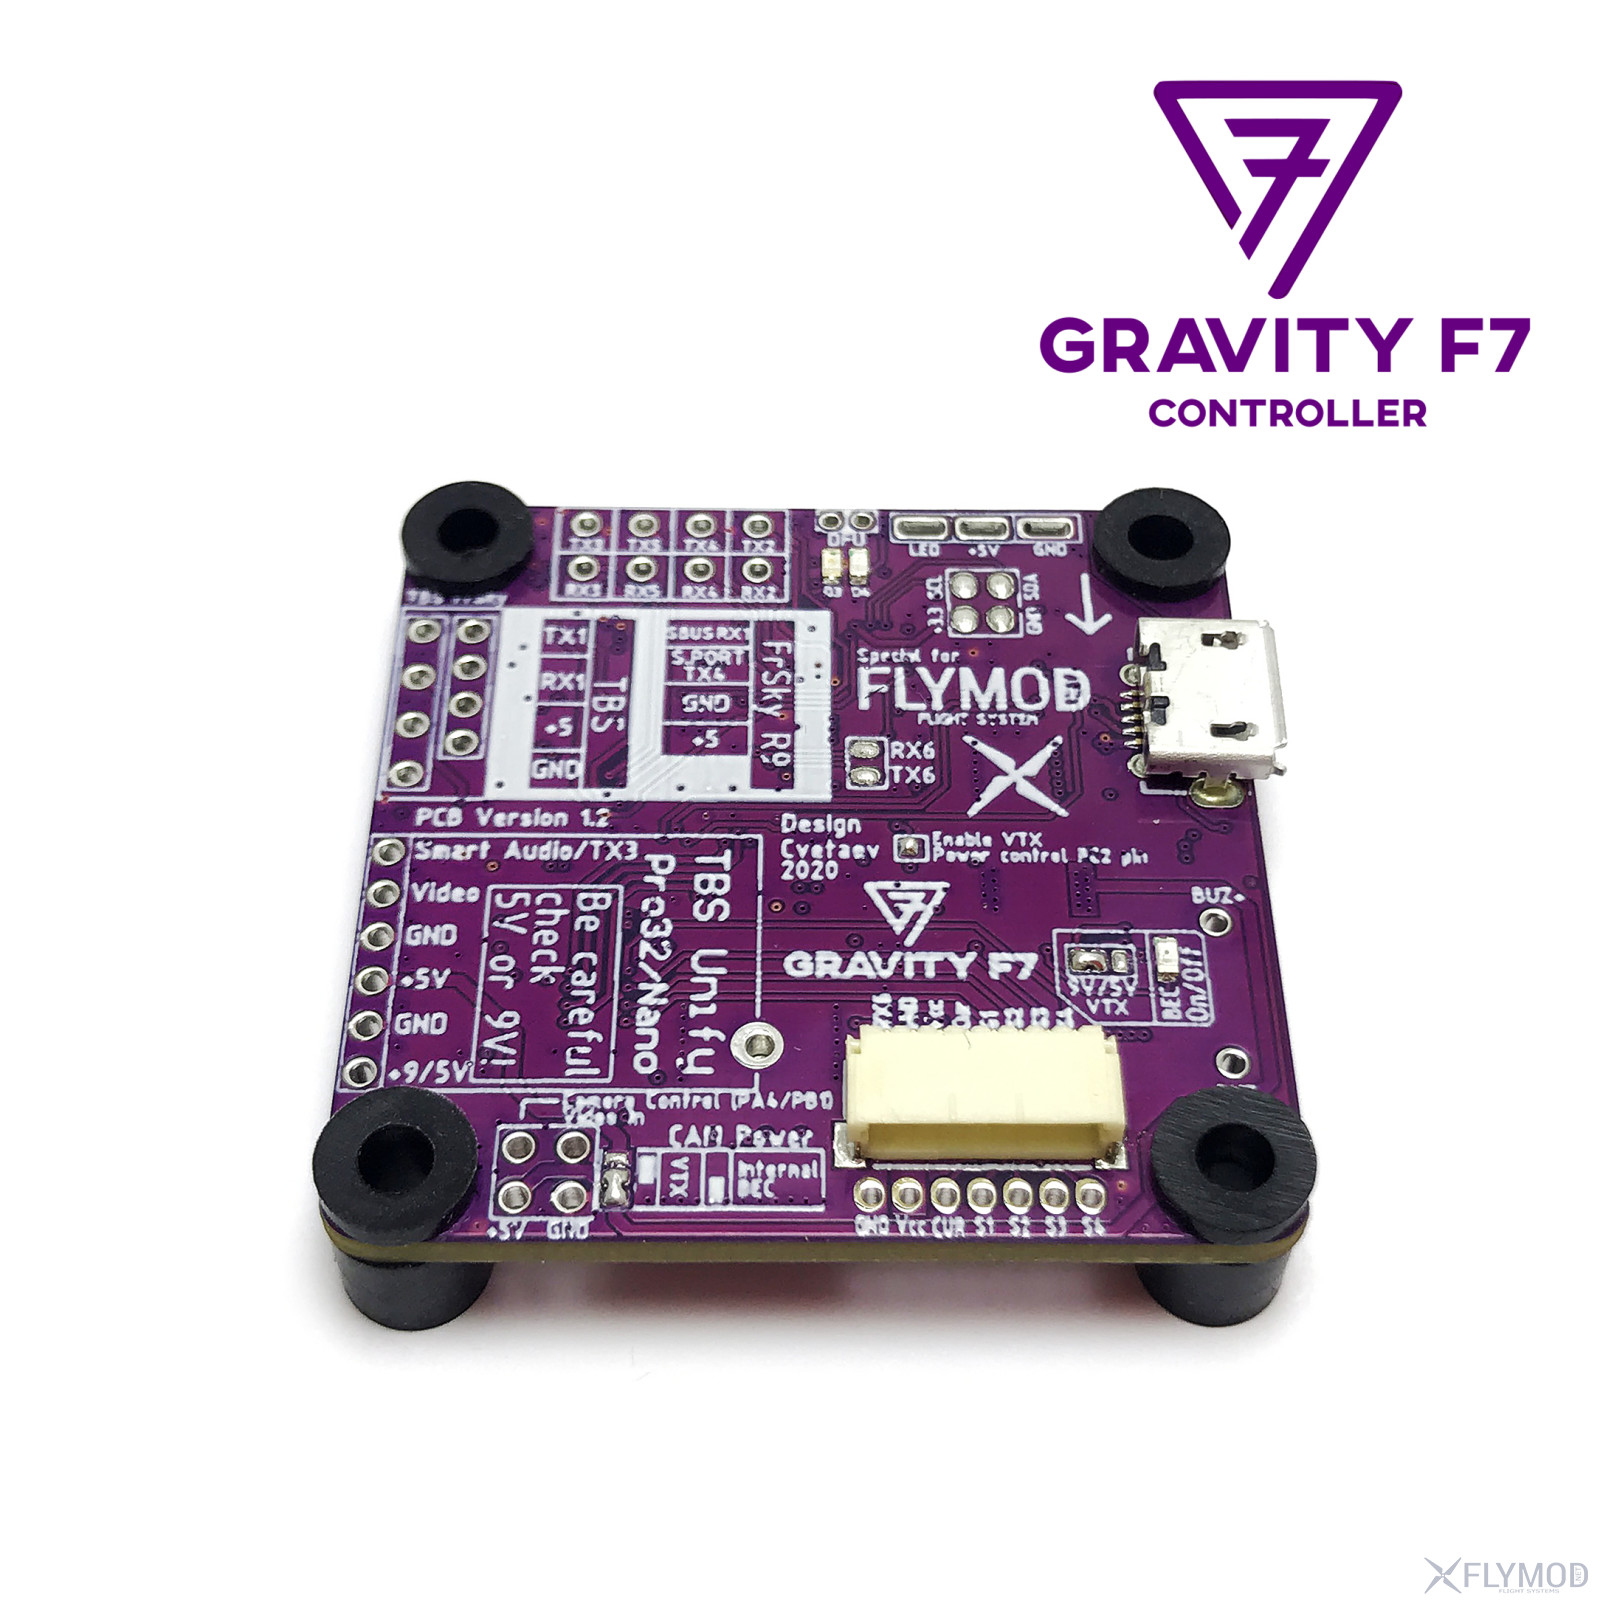
- ESC Telemetry: RX6
- SBUS: RX1
- S.PORT: TX4
- SmartAudio: TX3
- CameraControl: PA4 (DAC) or PB1 (TIMER3 ch 4)
- SBUS Inverter: Yes (switchable by jumper)
- Blackbox: 16Mb
- Firmware: BetaFlight, EmuFlight
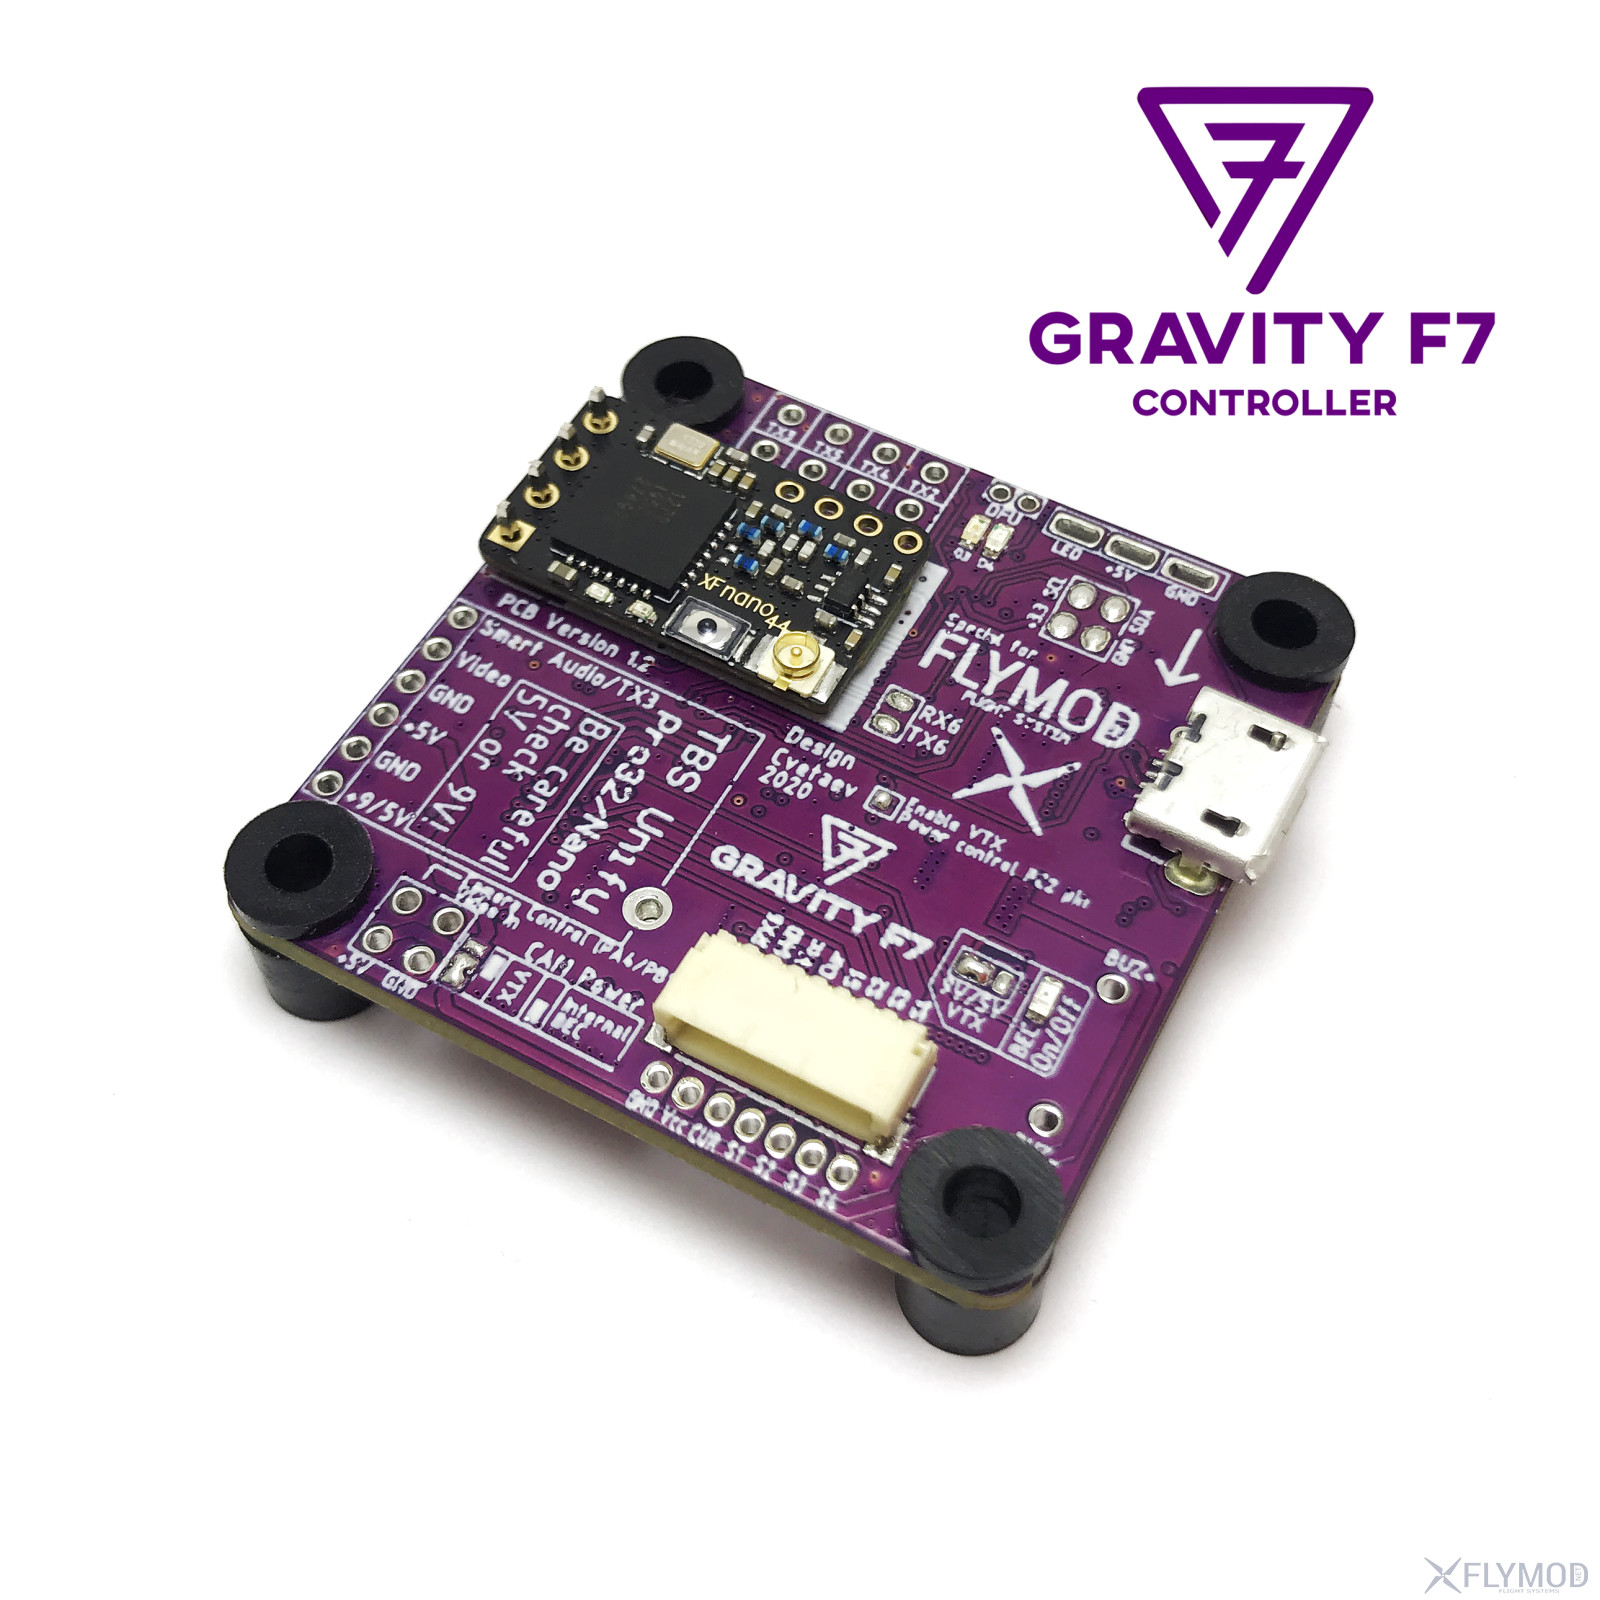
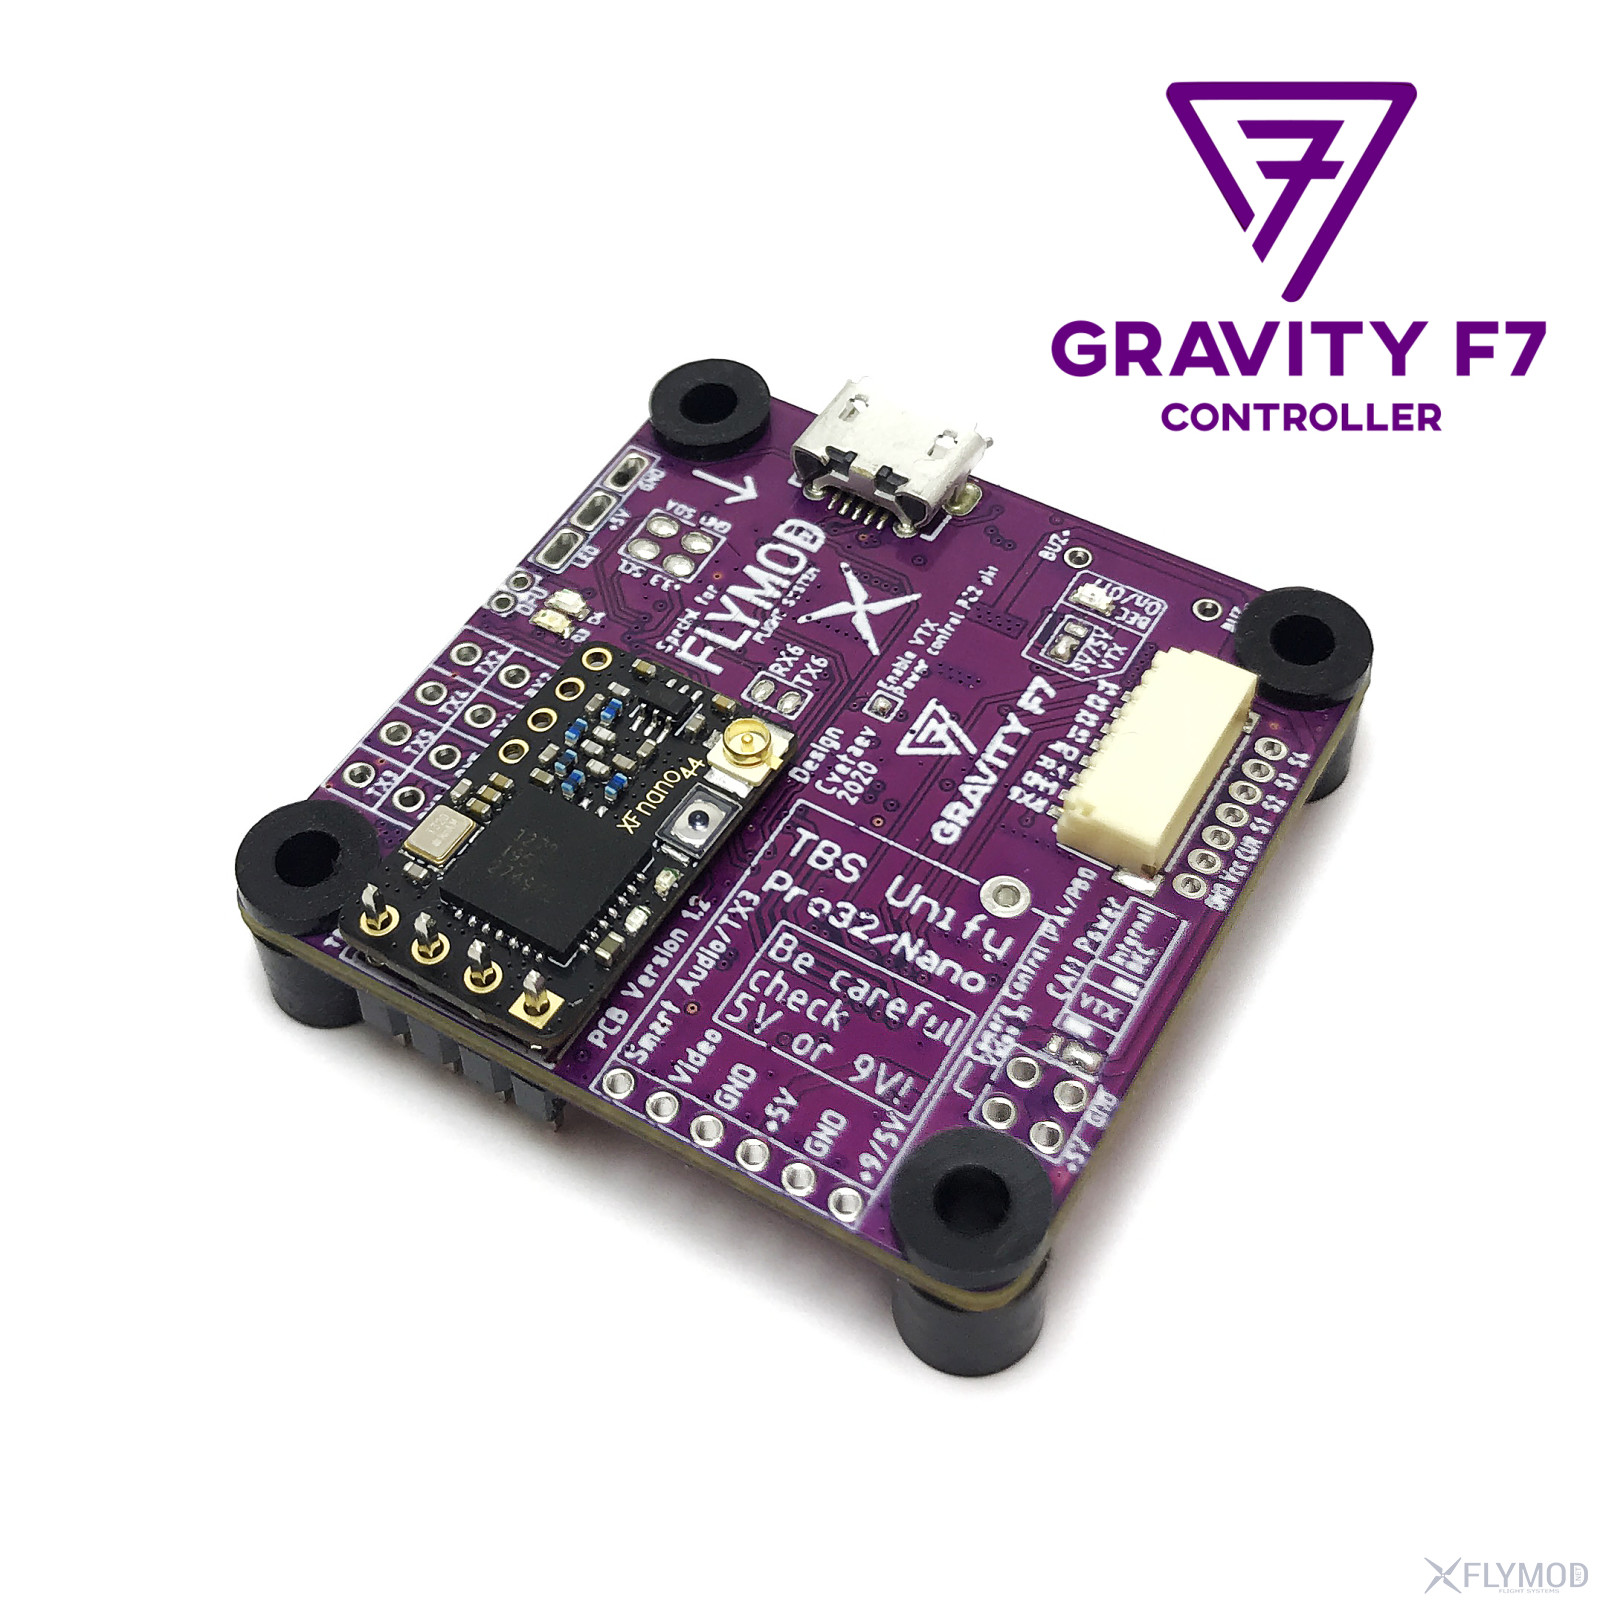
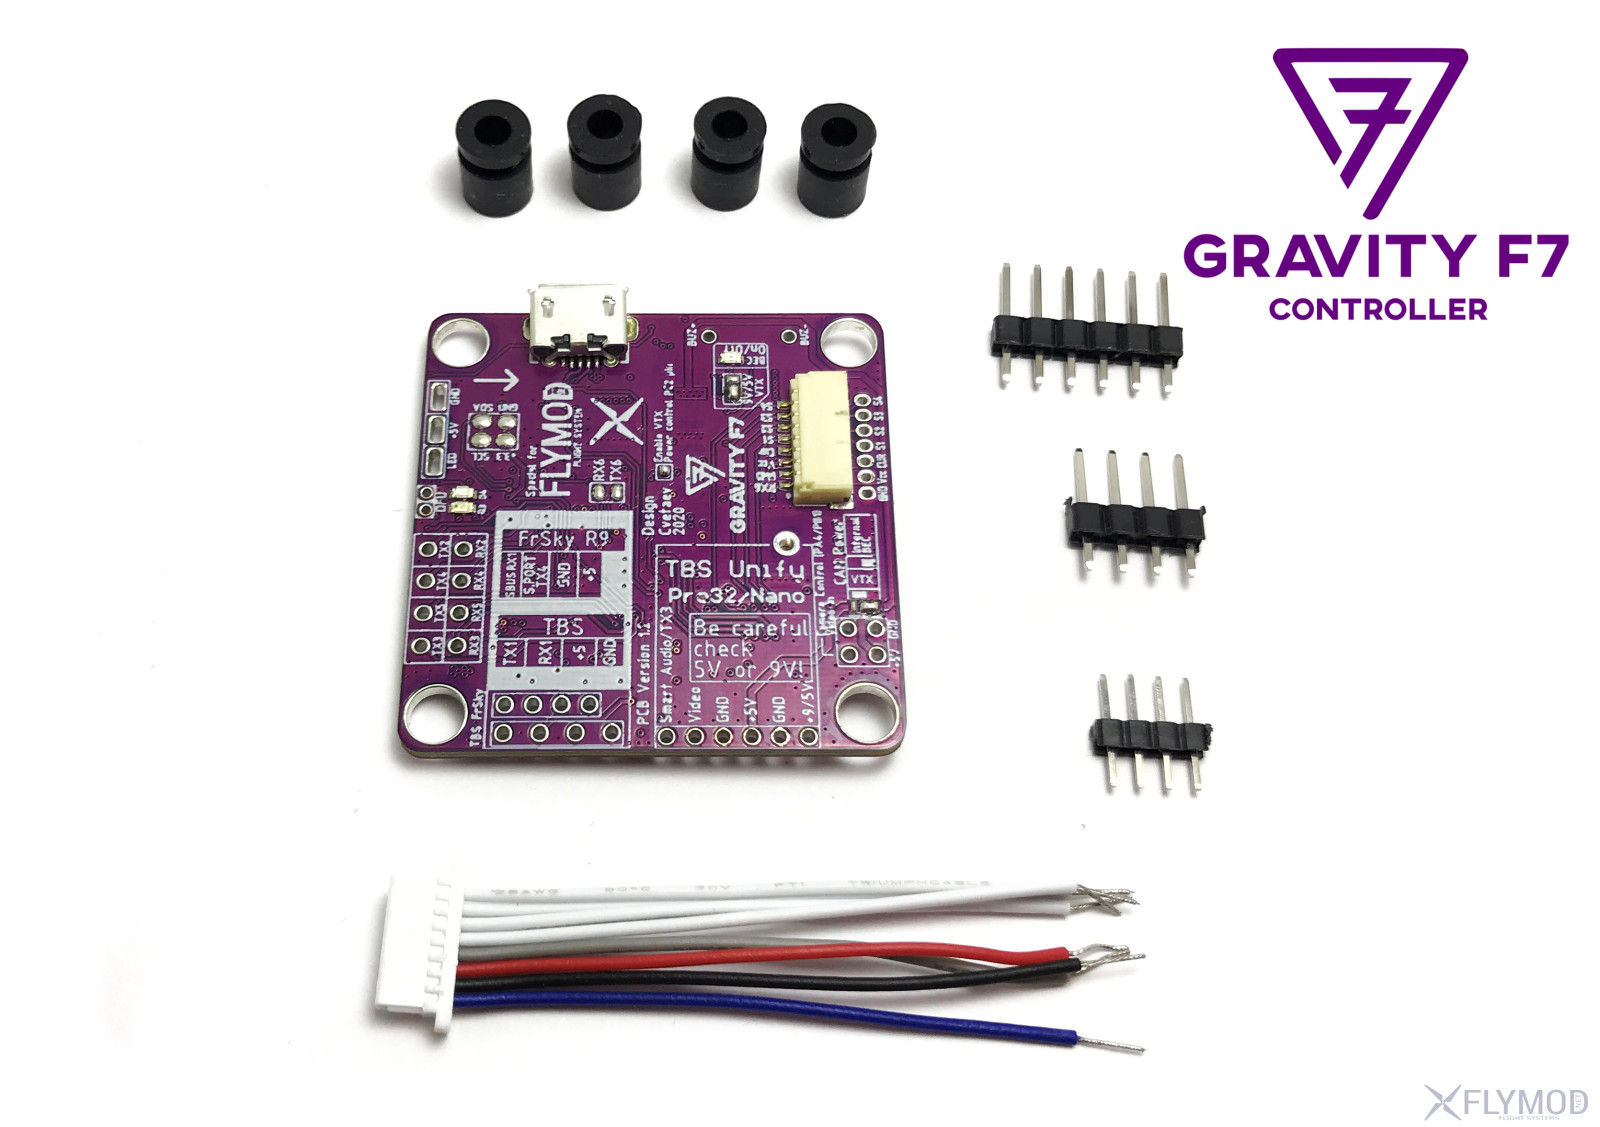
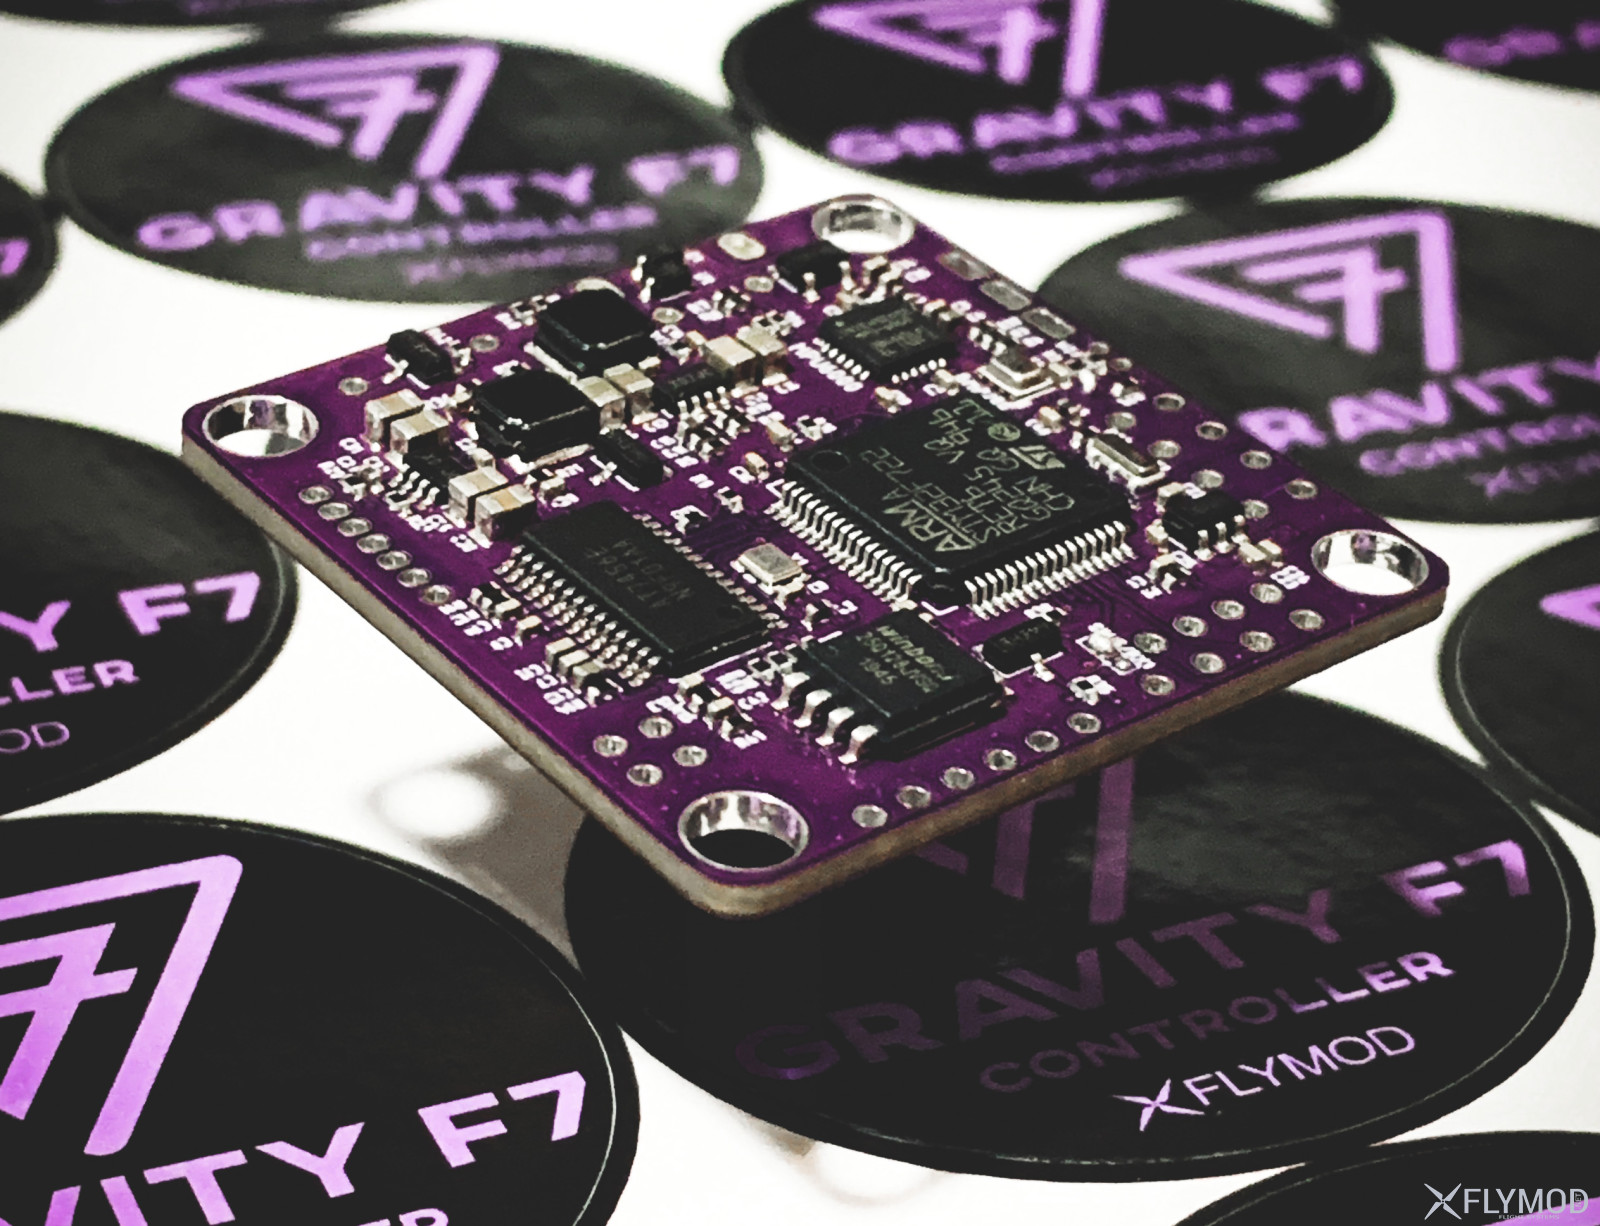
- Target: GRAVITYF7
- Input Voltage: 3-6S LiPo (12.6-25V)
- BEC: 5V/3A, 9V/3A (9V or 5V selectable) USER1 - PC2 pin on/off VTX power supply, 3.3V/250mA
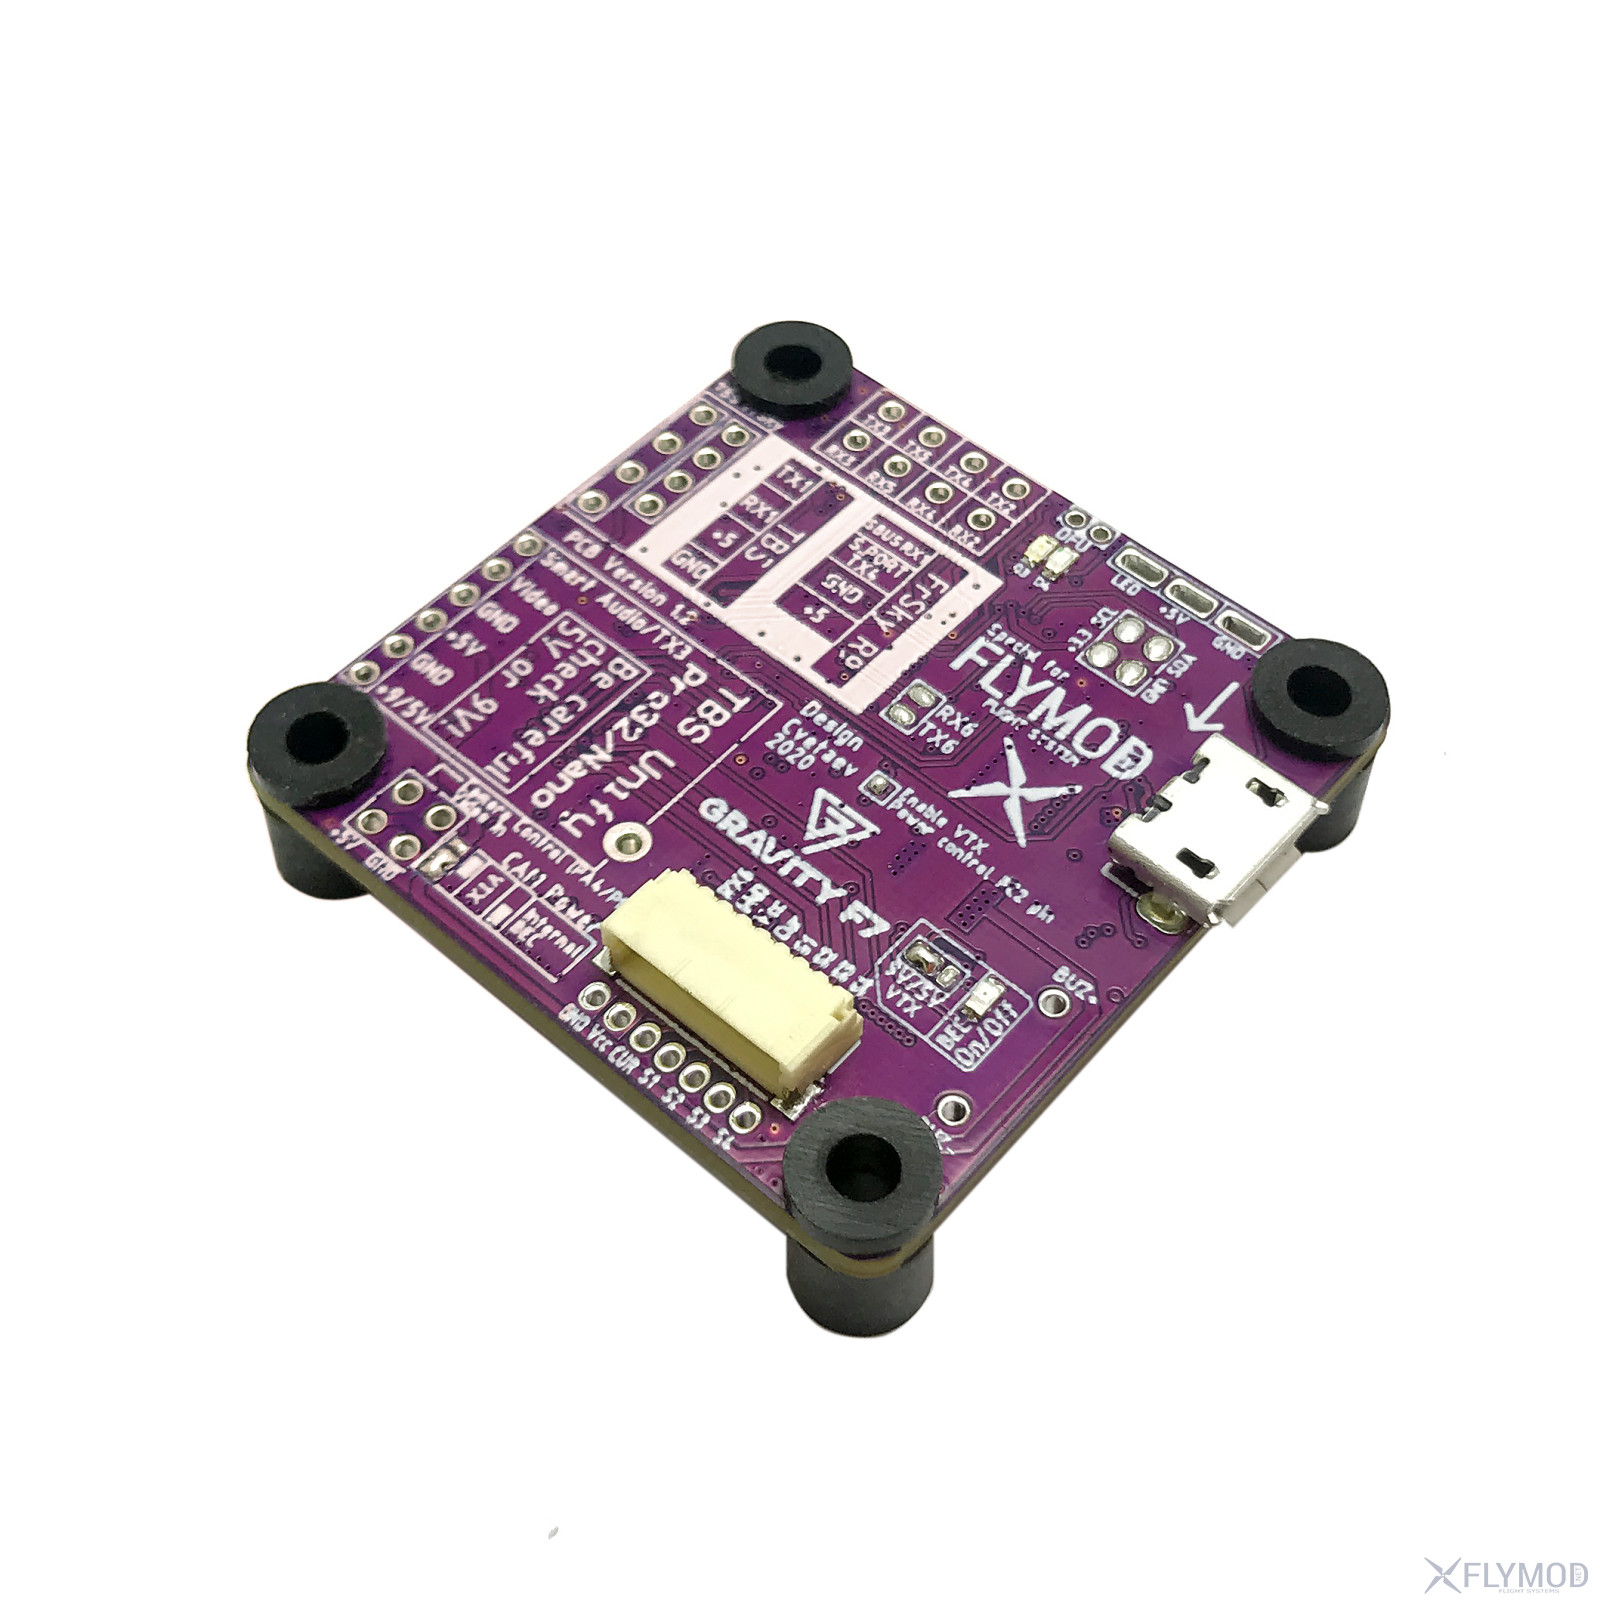
- LED indication: green (D4) STM32 power supply (3.3V), blue (D3) for FC status, red (VTX) BEC 9V
- Buser output: Yes
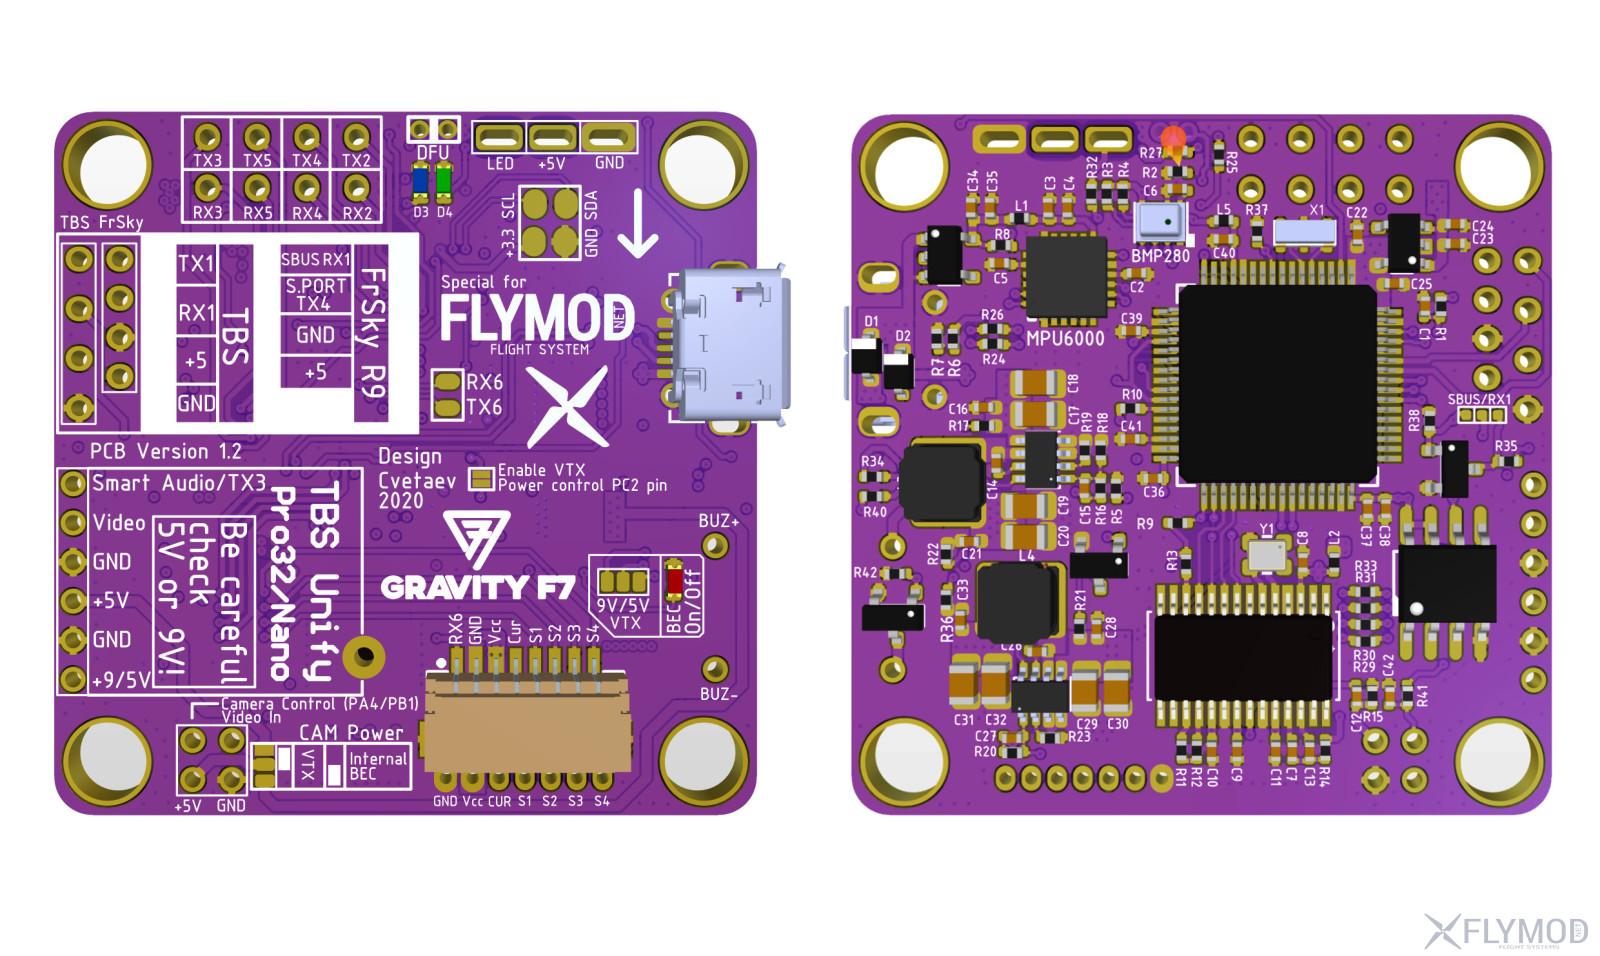
- Mounting Diagram: 30.5 x 30.5mm, M3
- Weight: 6.3g
Jumper setting
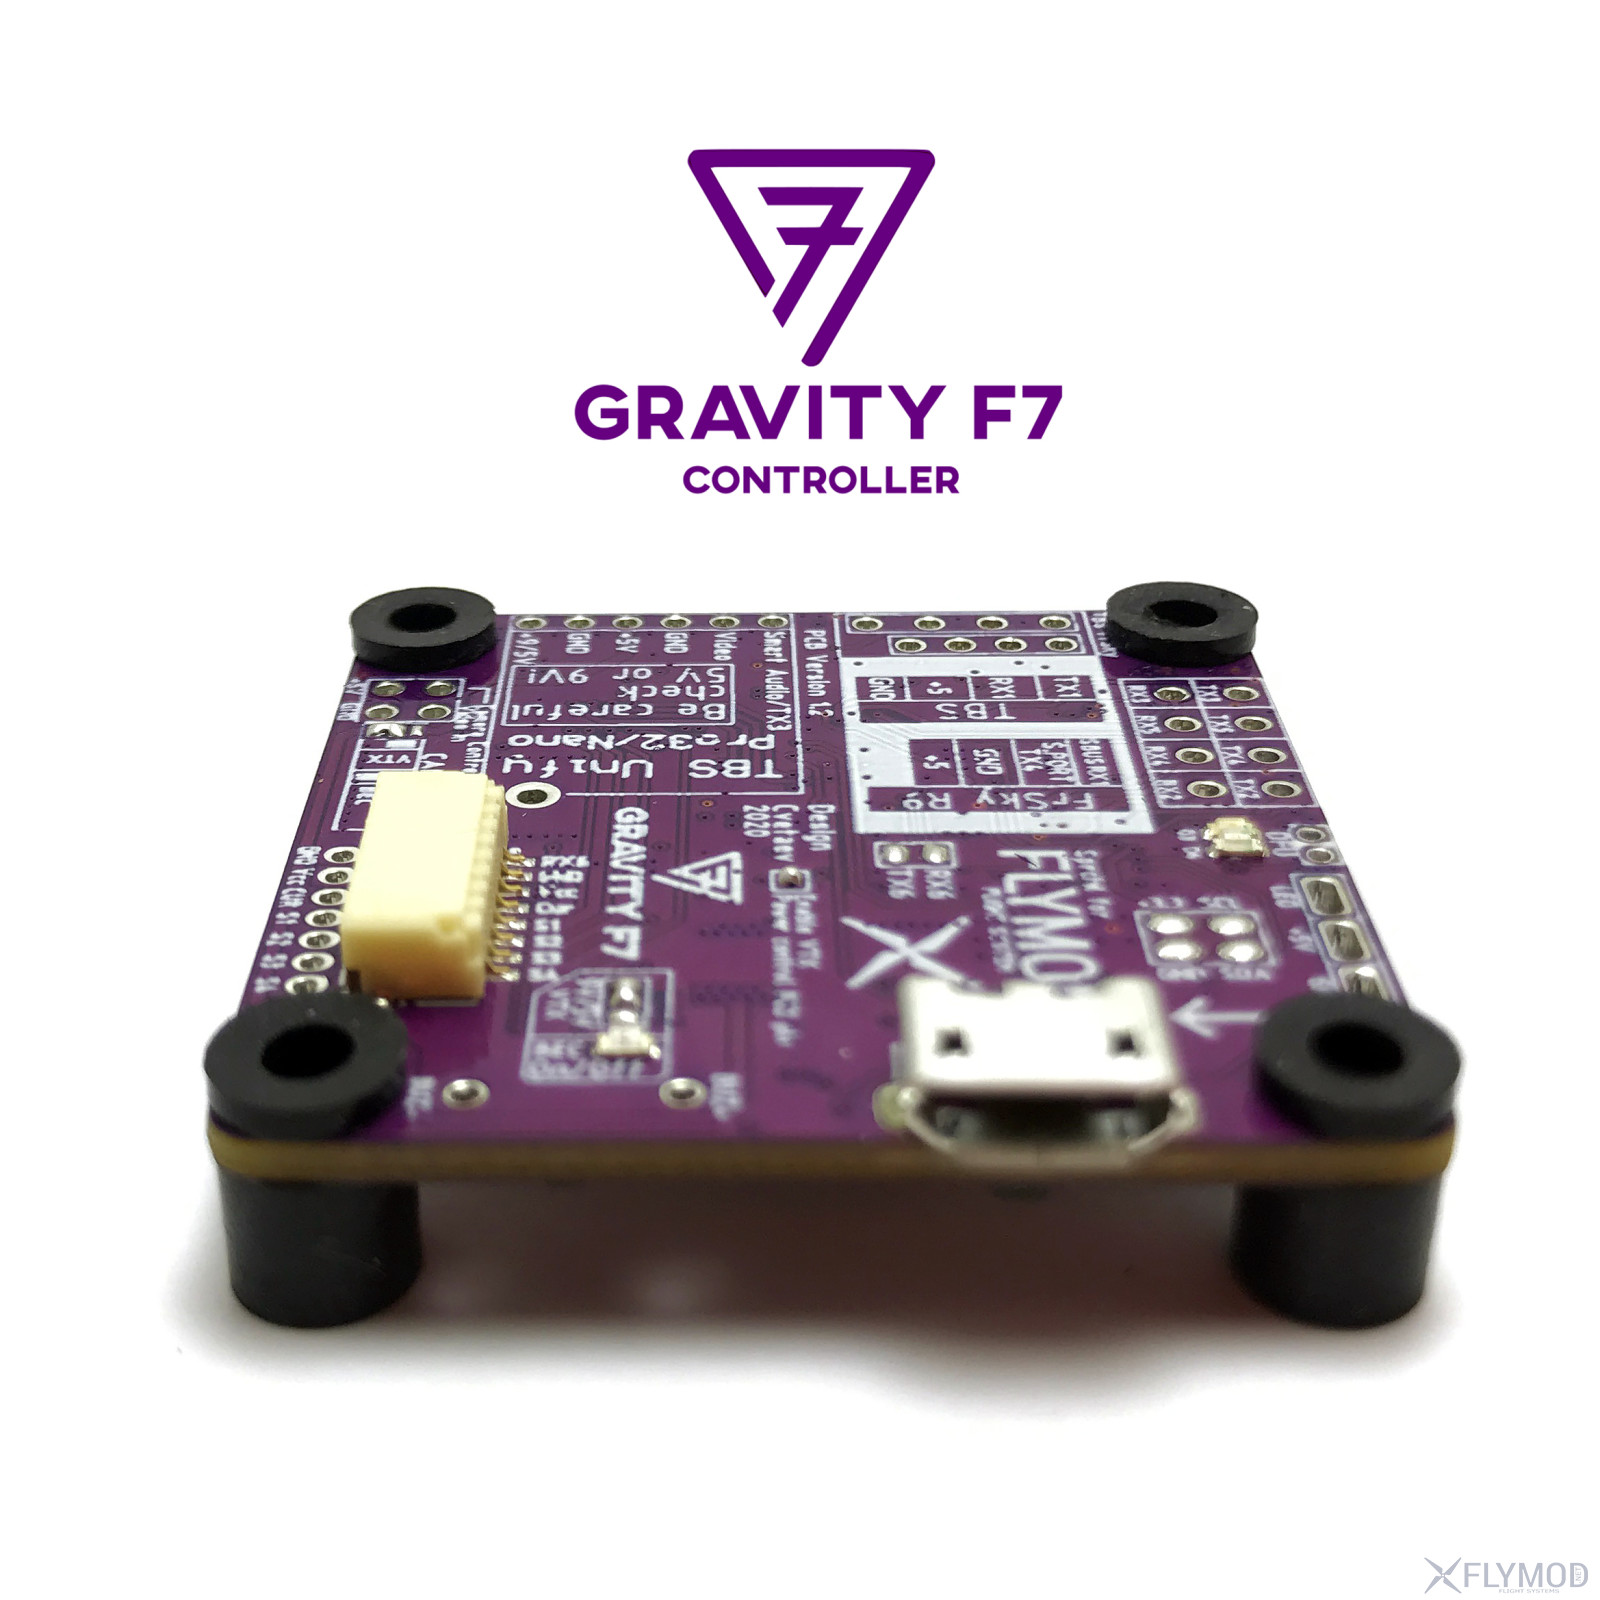
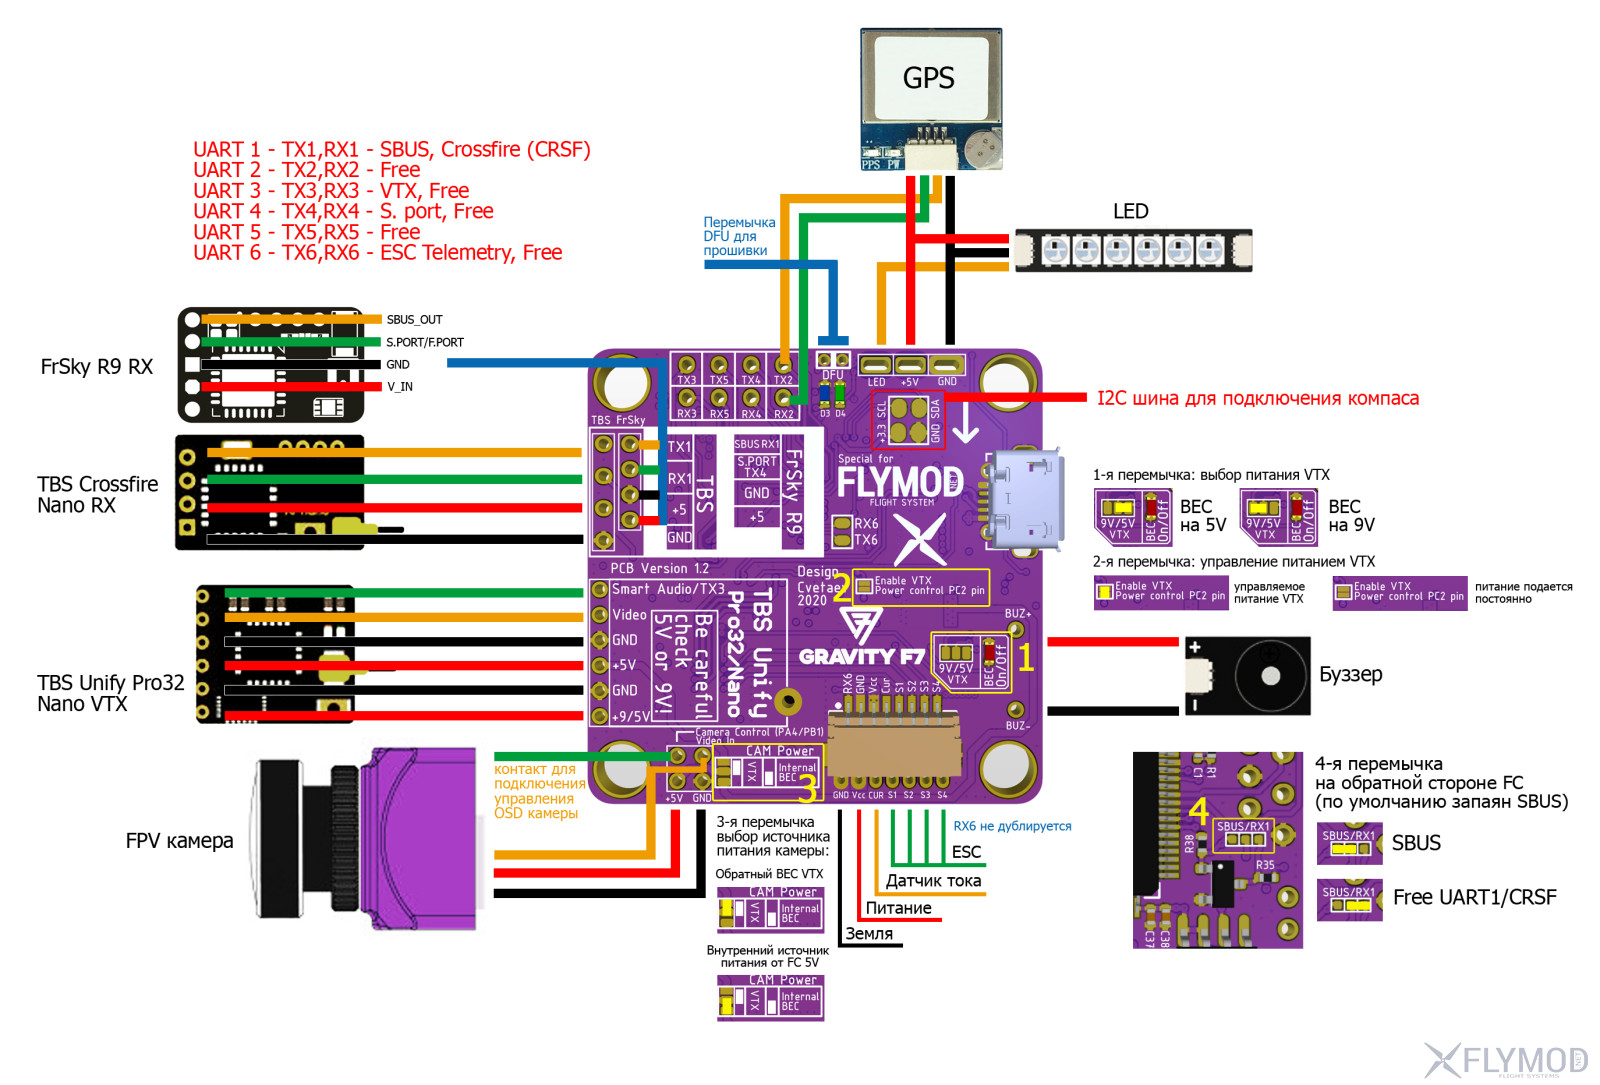
The jumper numbers correspond to the jumper number on the overall schematic:
1. Selects the voltage applied to the VTX. 5V or 9V from the internal BEC, 3A MAX. Next to the LED indicating the power supply to the VTX. The default jumper is 9V.
2. Enable VTX power management via Betaflight mode (USER1). If the jumper is not sealed, power is continuously supplied. By default, control via Betaflight is enabled.
3. Selects the camera power source, via the video transmitter's reverse BEC or the flight controller's internal 5V source. By default, a jumper is soldered to use the internal 5V BEC
4. Enable hardware inverter for SBUS or select pure UART to use TX1, RX1. By default, a jumper is soldered in to use the SBUS receivers. To install a Crossfire (CRSF) receiver on UART 1, you need to solder the second option, the regular TX1, RX1 as shown in the schematic.
Firmware
For flashing it is necessary to put the flight controller into DFU mode, for this purpose it is necessary to close DFU pins with tweezers or other metal jumper when powering the controller via USB. At the moment the device is flashed with Betaflight, EmuFlight firmware in the standard way by selecting the GRAVITYF7 target set. For INAV by downloading the firmware through the website and uploading it through firmware file selection, adding it to the general INAV release list while testing the firmware.
Loading fonts in OSD
When setting up the PC for the first time it is necessary to load fonts for OSD. The download must be done with the battery connected to the flight controllers, as the OSD chip is not powered via USB only. Download information on GitHub.
UART port map
UART 1 - SBUS, Crossfire (CRSF)
UART 2 - Free
UART 3 - VTX, Free
UART 4 - S. port, Free
UART 5 - Free
UART 6 - ESC Teletmetry, Free
Flight controller development: Cvetaev


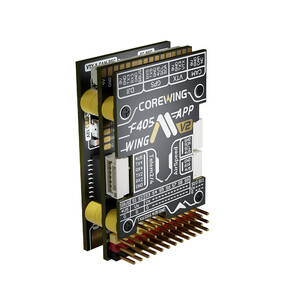
Значения датчика тока зависят уже от самого датчика тока на регуляторах скорости (ESC) или на плате разводки питания, смотря где он установлен, могут быть разные, обычно по умолчанию оставляют, калибруют, или берут у производителей регуляторов рекомендуемые.